
Switzerland is full of breathtaking hiking trails that lead to stunning destinations. Most of them are already well known (Grosse Mythen, Augstmatthorn, etc), but there are still some real hidden treasures (such as la Tine de Conflens). The Limmernsee hike I am presenting to you today is one of them, hidden in the canton of Glarus.
It’s a canton that is still unknown but worth visiting, especially because it has majestic mountains called the Glarner Alps. And where nuggets emerge, such as the Limmernsee hike, which I’ve been eyeing for some time (thanks Instagram!).
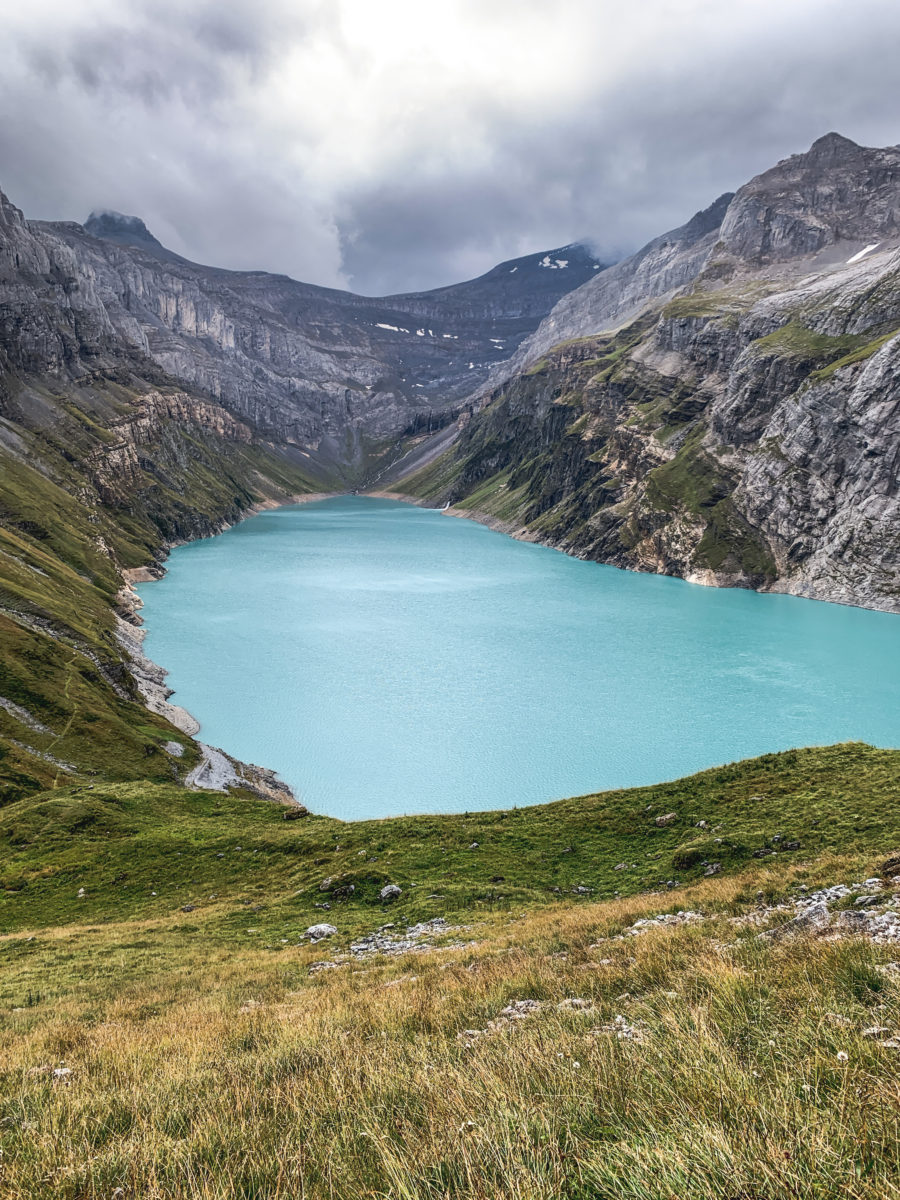
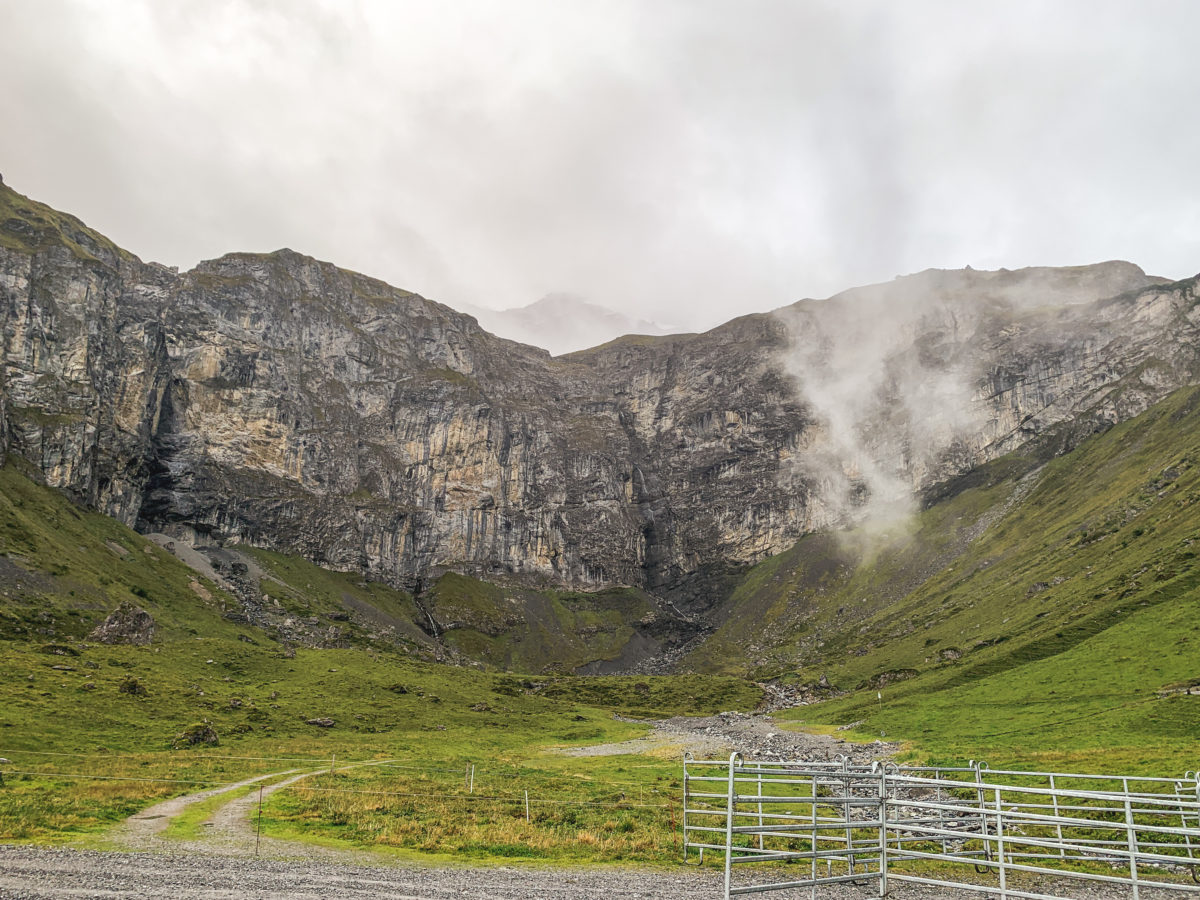
Located in the Swiss Tectonic Highlands Sardona, which has been a UNESCO World Heritage Site since 2008, the Limmernsee, or Limmerensee, is a mountain lake wedged in the centre of beautiful mountains giving a fjord-like appearance. What more could you ask for in a hike, rich in both physical and visual adventures?
As information about this hike is hard to find on the internet, or sometimes not very accurate compared to what we experienced, you will find in this article all the required knowledge to discover the Limmernsee hiking trail.
Essential pre-departure information
Firstly, here are some important points to understand. We had originally intended to bivouac at the summit, however, the weather was foggy and rainy, so we decided to do the hike as a day trip instead (good for us for doing so, the story below). In my daily life, I use Météo Suisse to get accurate weather forecasts. For this hike, in order to have an estimate of the weather, we chose the summit of the Bifertenstock (3’419 m) as our reference summit.
For information, in Switzerland, wilderness camping is generally allowed, except in the following circumstances, according to the Swiss Alpine Club:
- In the Swiss National Park (which is located in south-eastern Switzerland)
- In nature reserves in general
- Below the tree line
- In no-hunting zones (in German: Jagdbanngebiete)
- In quiet zones (during protection periods)
There are other examples where wild camping is not allowed in Switzerland. However, the rules are slightly different in different cantons or municipalities.
Speaking of the Swiss Alpine Club, there is the mountain hut called Muttseehütte which is in the middle of the hike. I’ll tell you about it below, but it’s an alternative to the bivouac if you do the two-day hike.
Starting point of the hike
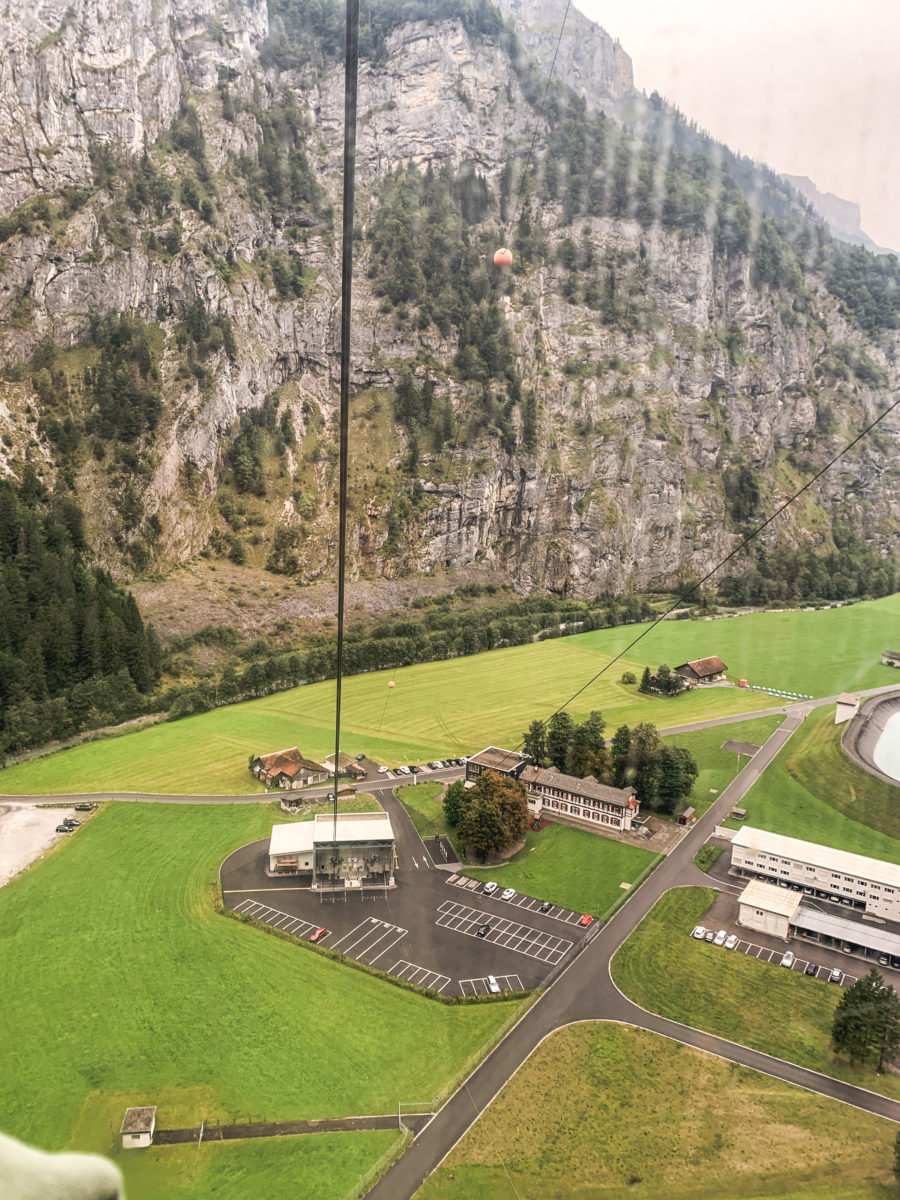
The starting point of the hike is not ideal, as it is located in the depths of the Linthal, at the Luftseilbahn Tierfehd valley station at 805 metres. From the village of Linthal, a well-tarmacked road will take you to this starting point. A hotel has even been constructed next to the departure station. If you come by public transport, you will have to walk from Linthal railway station, as Tierfehd is not served by any bus (about 6 km to the starting point).

The cable car is fully automated and self-service during opening hours, which was a little confusing at first. Indeed, you just have to park your car in the free parking area and then go to the ticket machine to get a ticket, which will let you go through the turnstile and enter one of the two cabins at the departure point.
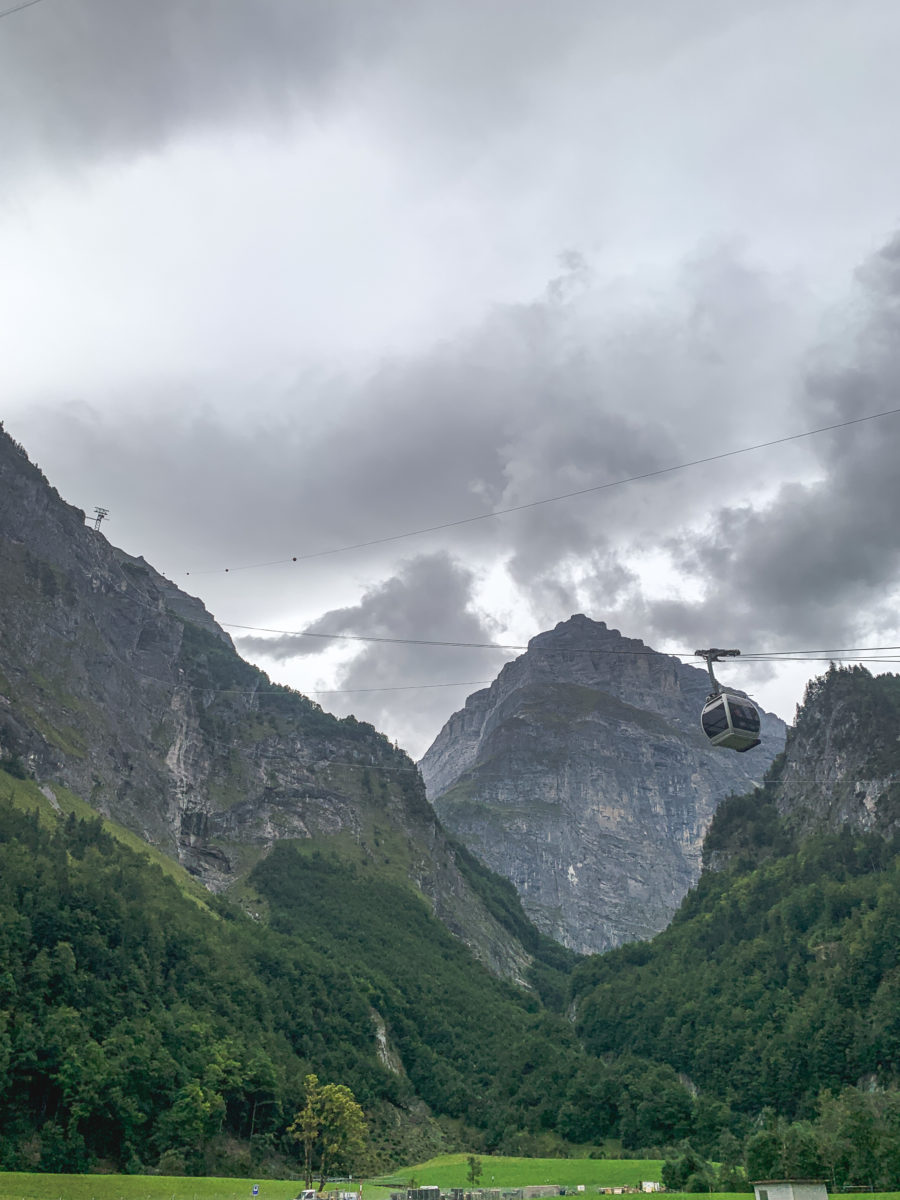
The price of the ticket is CHF 15 go and return (relatively cheap for Switzerland) for an adult and CHF 10 for a child. Unless you really want your knees or calves to be on fire, I recommend taking the cable car to the Chalchtrittli mountain station, which is at 1’860 m.
So yes, for only 15 CHF you can save yourself a 1’000 m climb and several hours of walking. To be honest, and not because we finished the hike under a downpour, but I couldn’t take any more steps when we arrived at Chalchtrittli and I still couldn’t see myself struggling for 4 hours (according to the official signage) to Tierfehd. The gondola ride is only about 7.5 minutes.
It is important to know that the cable car station closes for lunch between 12:00 and 13:30, so you cannot go up during these hours. To check the timetable, you can click here.
The Limmernsee hike
I have divided this hike into 3 stages.
In black are the indications given by the signposts on the time needed to reach the various stages, and in red, the approximate time it took us to cover them. The time in red includes all our little stops to either catch our breath, take pictures (almost every 10m), admire the wildlife or have a snack. This may explain why it took us more than 6 hours to do the hike instead of the 4 indicated.
- Chalchtrittli mountain station – Limmernsee bank (via tunnel): 30 min. – 30 min.
- Limmernsee bank – Muttseehütte: 2h – 3h
- Muttseehütte – Chalchtrittli mountain station: 1h30 – 2h50

Here is the story of our adventures. You should also know that the walk can be done in both directions, as there are two official paths leading to Muttseehütte SAC. We had decided to start with the tunnel, given the weather situation, which at around 9:30 am was rather rainy. In any case, we wanted to hike on both paths in order to make this hike a loop.
Link to Komoot : https://www.komoot.de/tour/46214749?utm_campaign=tour_embed&utm_medium=embed
Chalchtrittli mountain station – Limmernsee bank (via tunnel)
It is quite unusual to start a hike in such a way, but from the mountain station, there is a signposted hiking trail leading to the Limmeren lake through the power station tunnel (about 3 km).
We found the usual yellow hiking signs, which indicated a gate. Strange and eerie were the two adjectives that immediately came to mind, especially when we realized that we had to put on an orange safety waistcoat. Where had I got us to again?
We put on our raincoats because of the humidity in the tunnel, and although it goes without saying when hiking you need to wear good hiking boots, as the tunnel also has many large puddles.

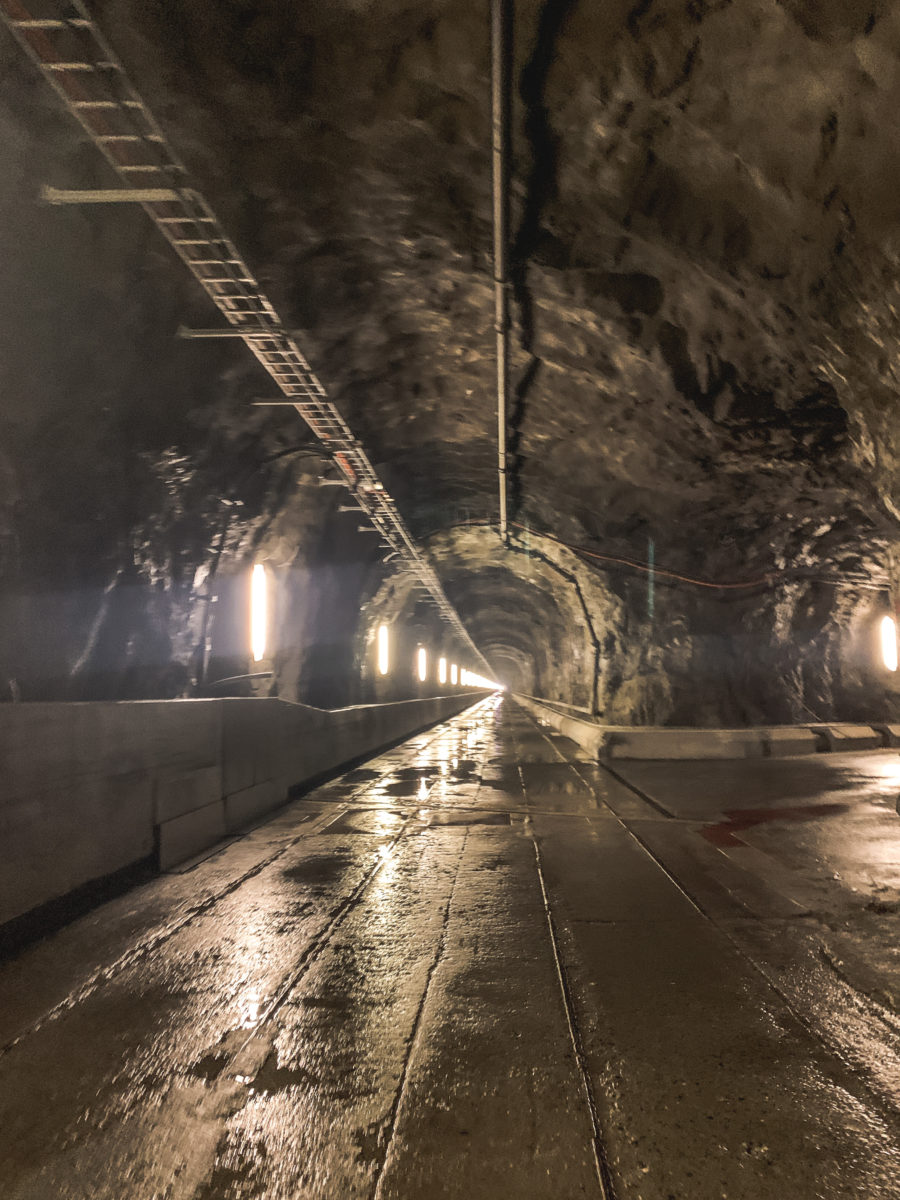
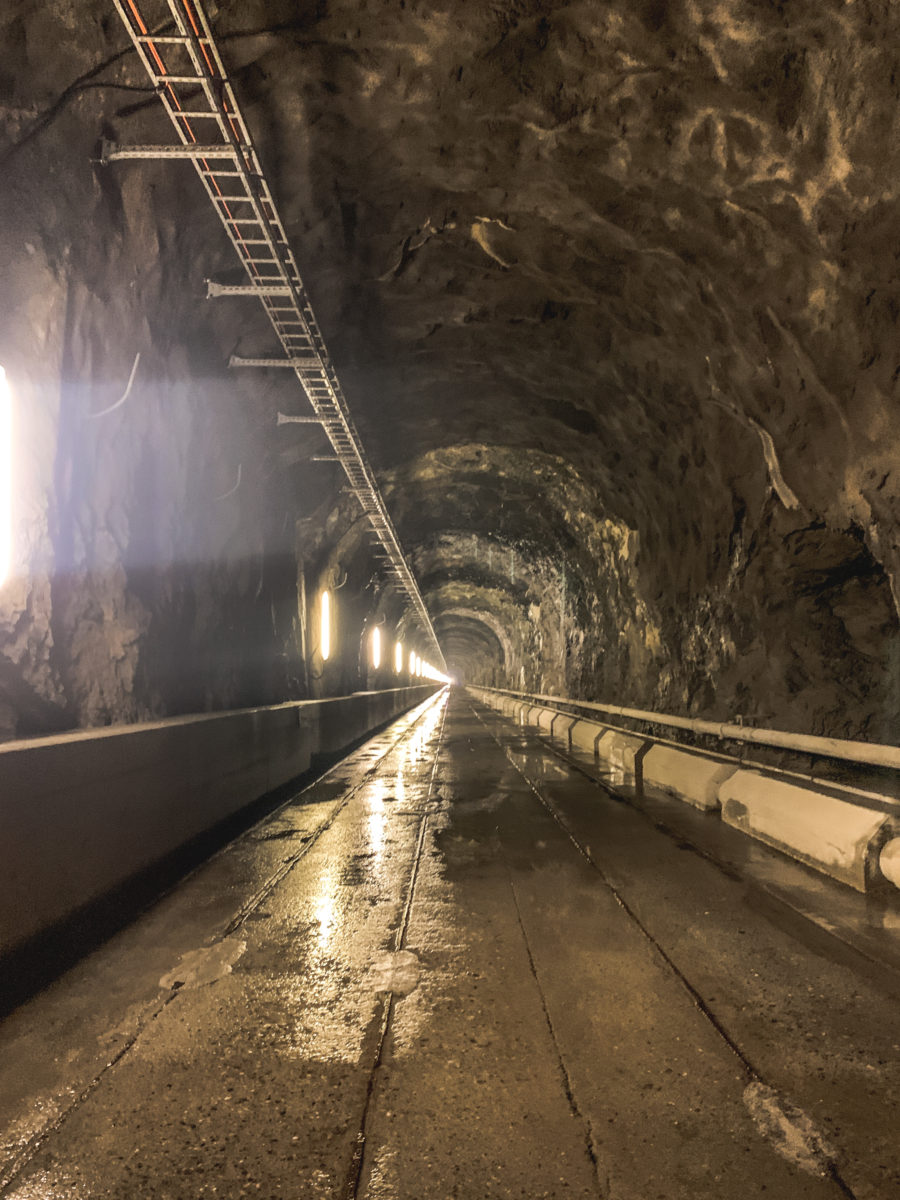
Completely flat, this start of the hike can seem a bit monotonous if you don’t think about the fact that you are in the middle of a mountain (or making noises looking for other human beings, and yes, you will come across some working). The feeling of being in a scene from a horror film materialized, especially when we heard a suspicious noise coming closer. It turned out to be a worker’s car (by the way, how they got there is also a mystery to us, having noticed no road).
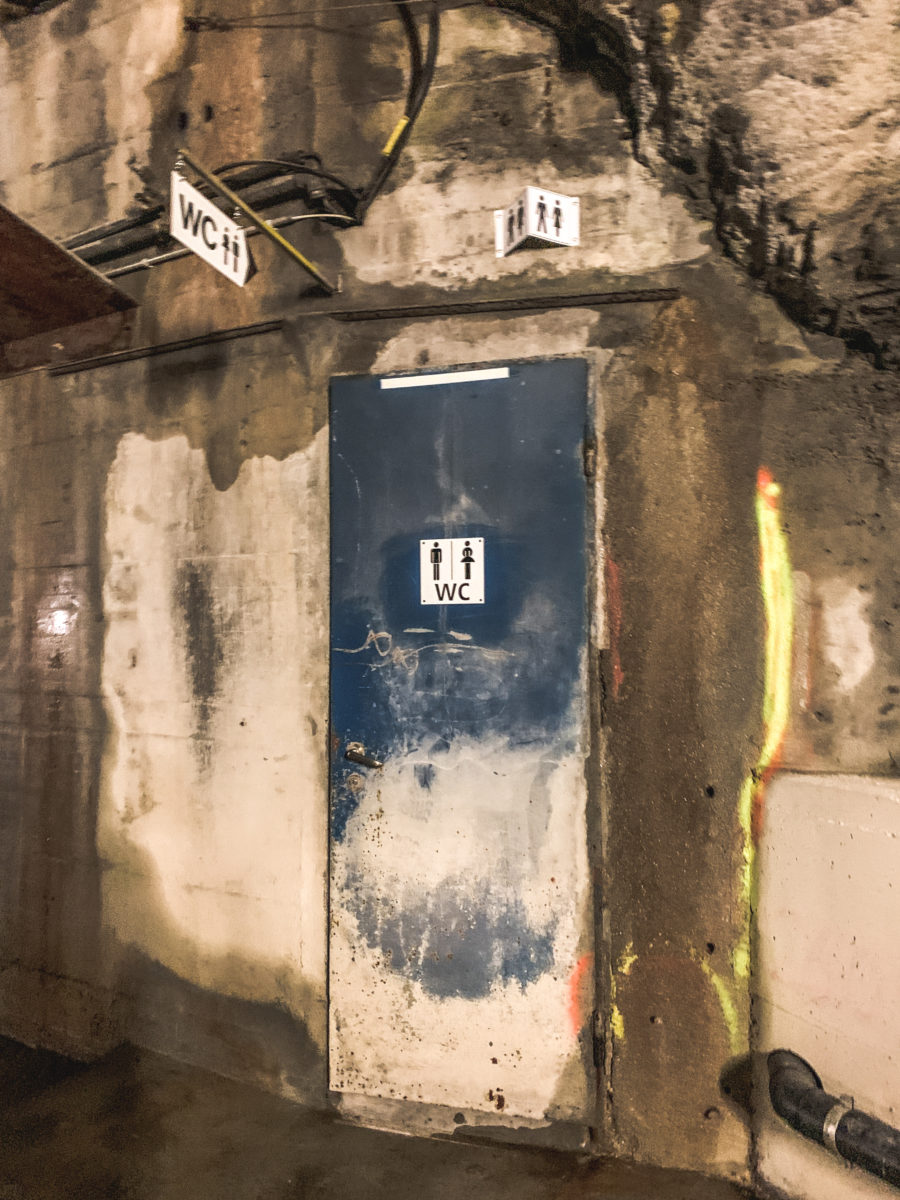
The tunnel is 2’750 m long, which gave us time to figure out the rest of the hike, especially when it came to finding toilets. Fortunately, you will find one at the end of the tunnel.
From the tunnel, you can make a small diversion to see the dam. You simply have to follow the sign Zur Staumauer (literally: to the dam). We didn’t make this deviation, as we were too busy looking for a toilet.
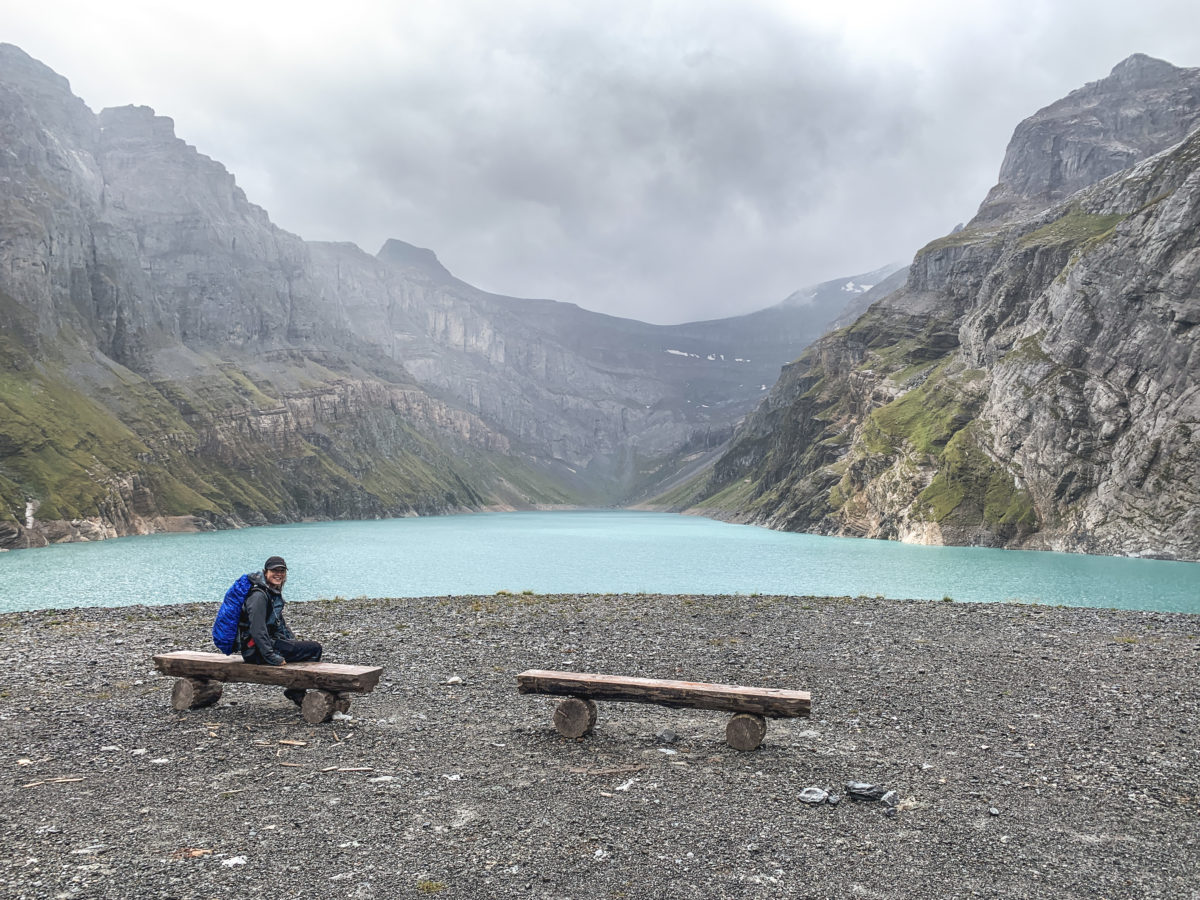
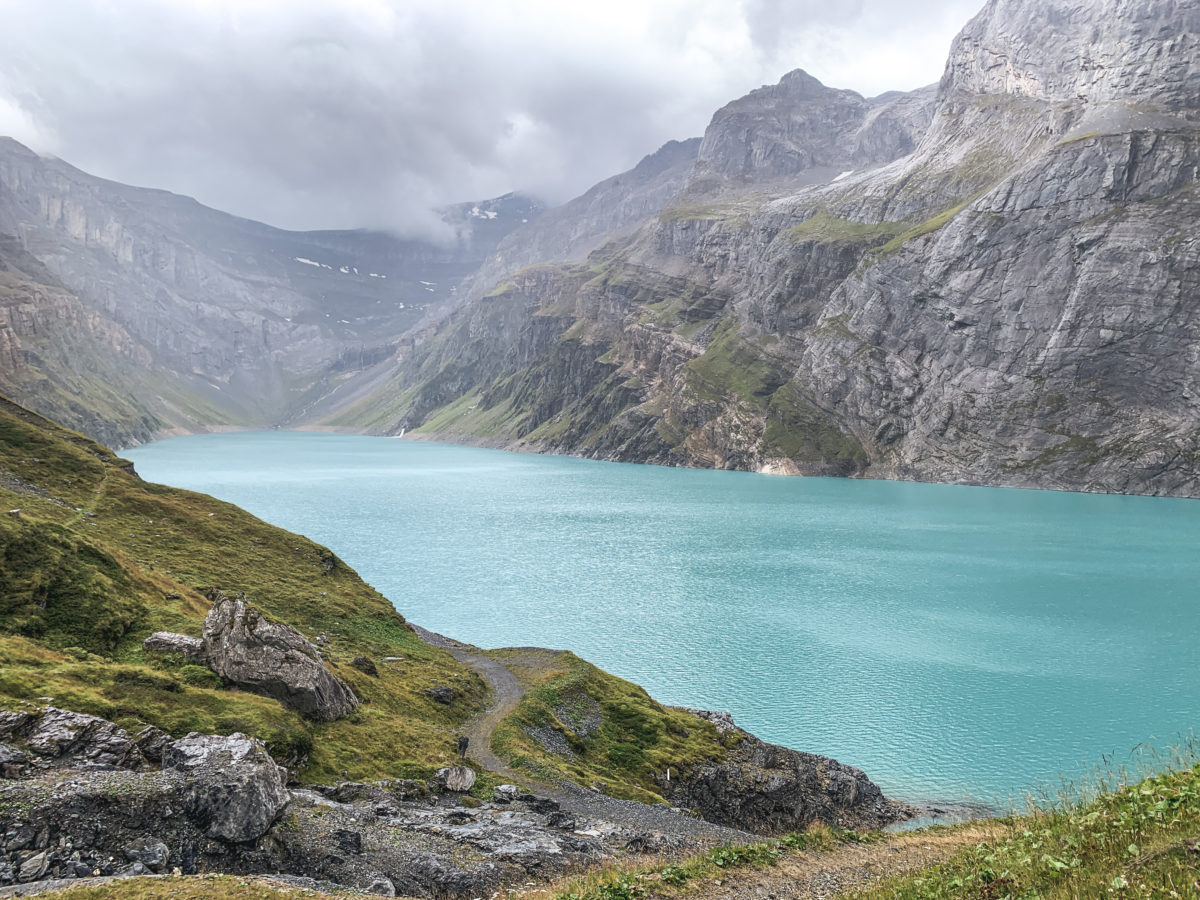
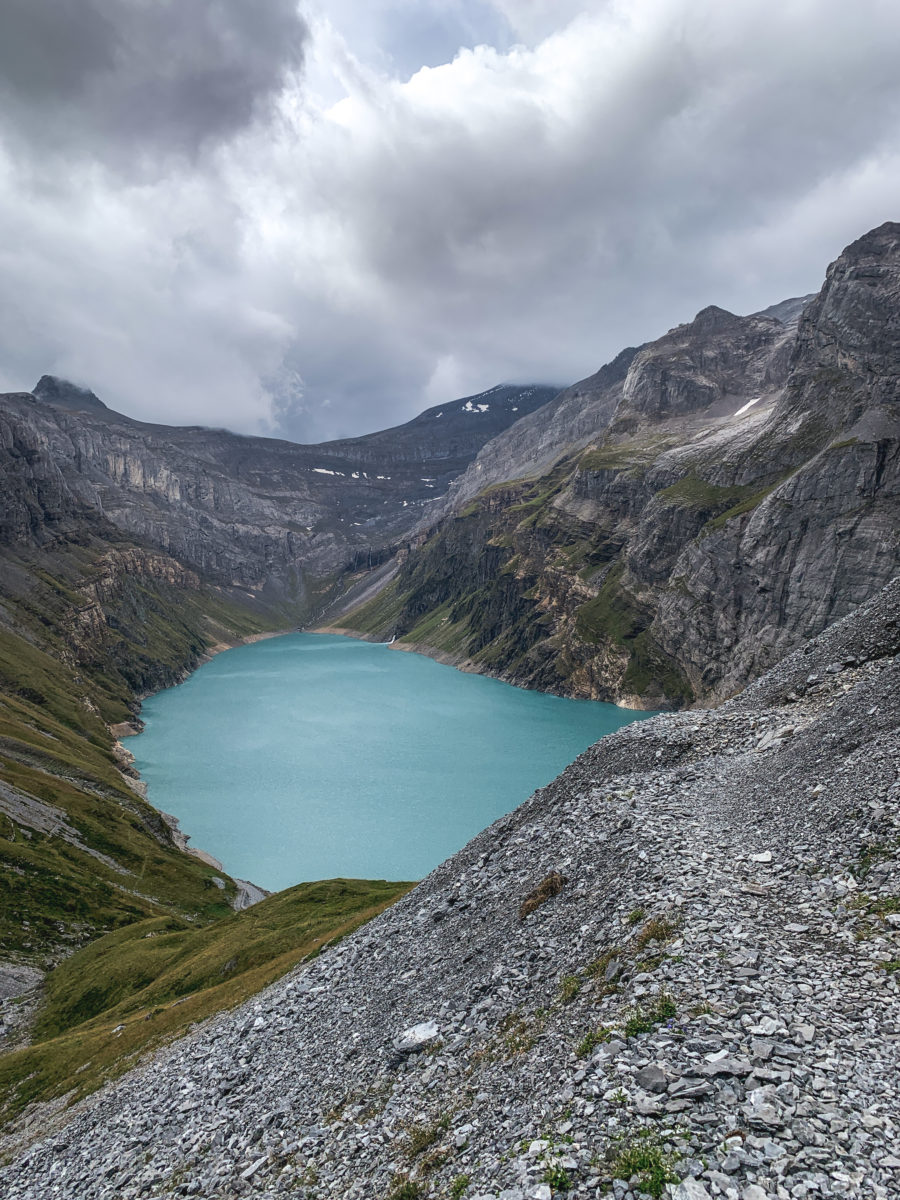
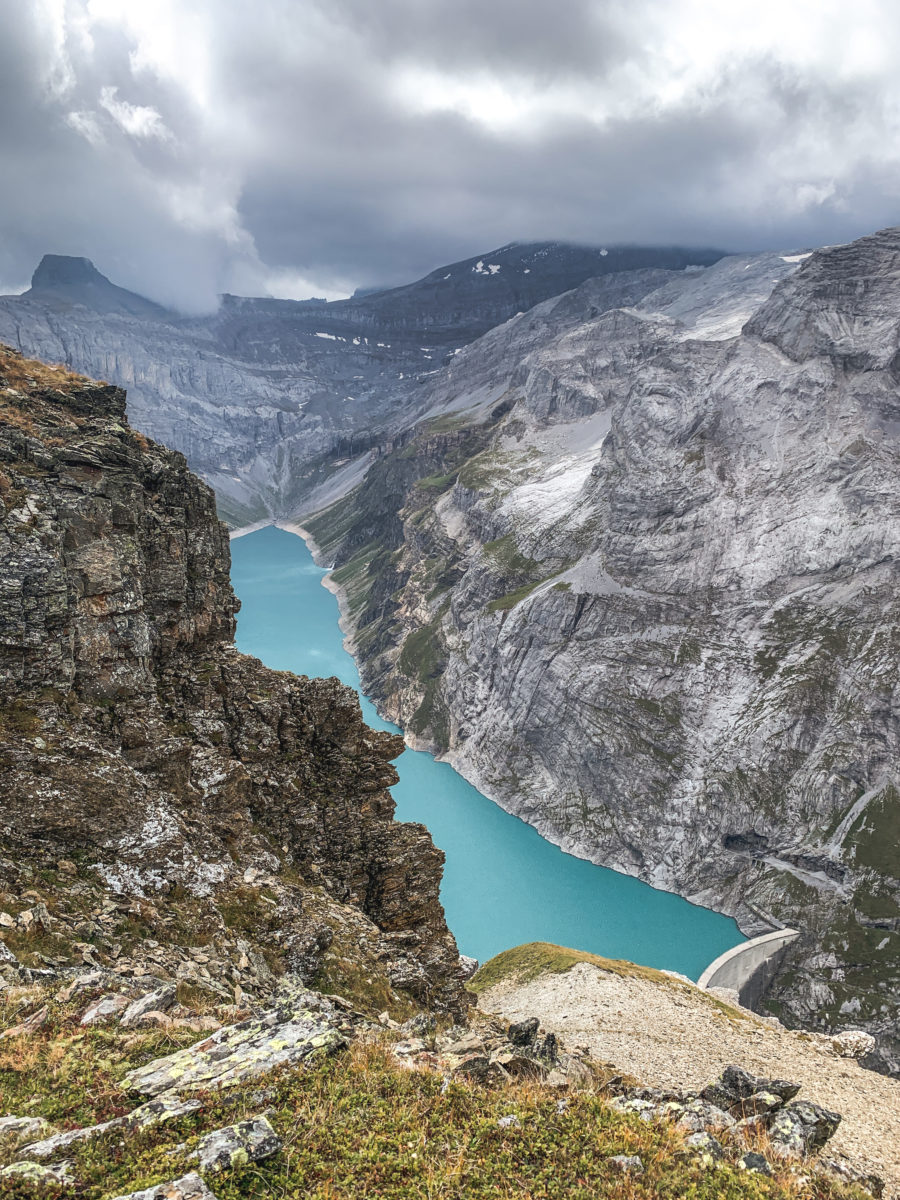
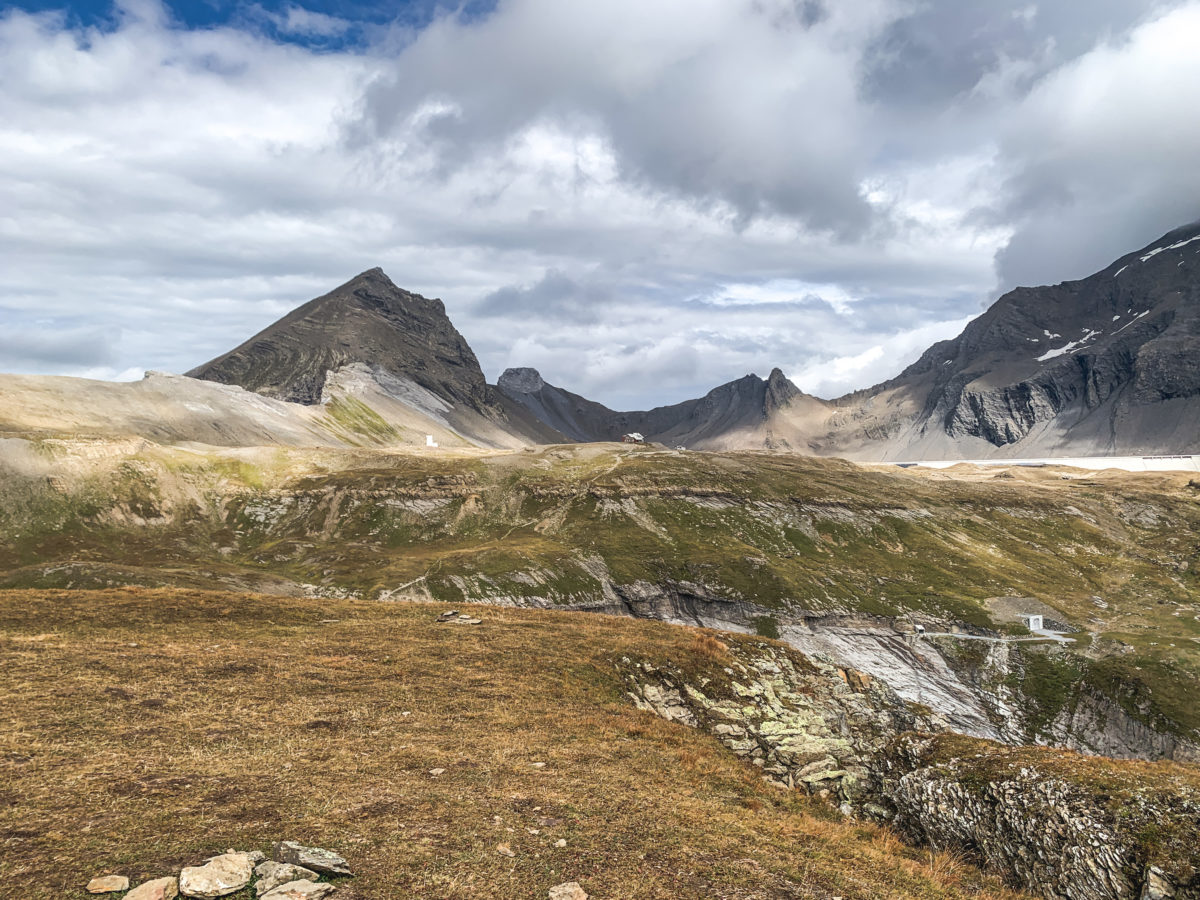
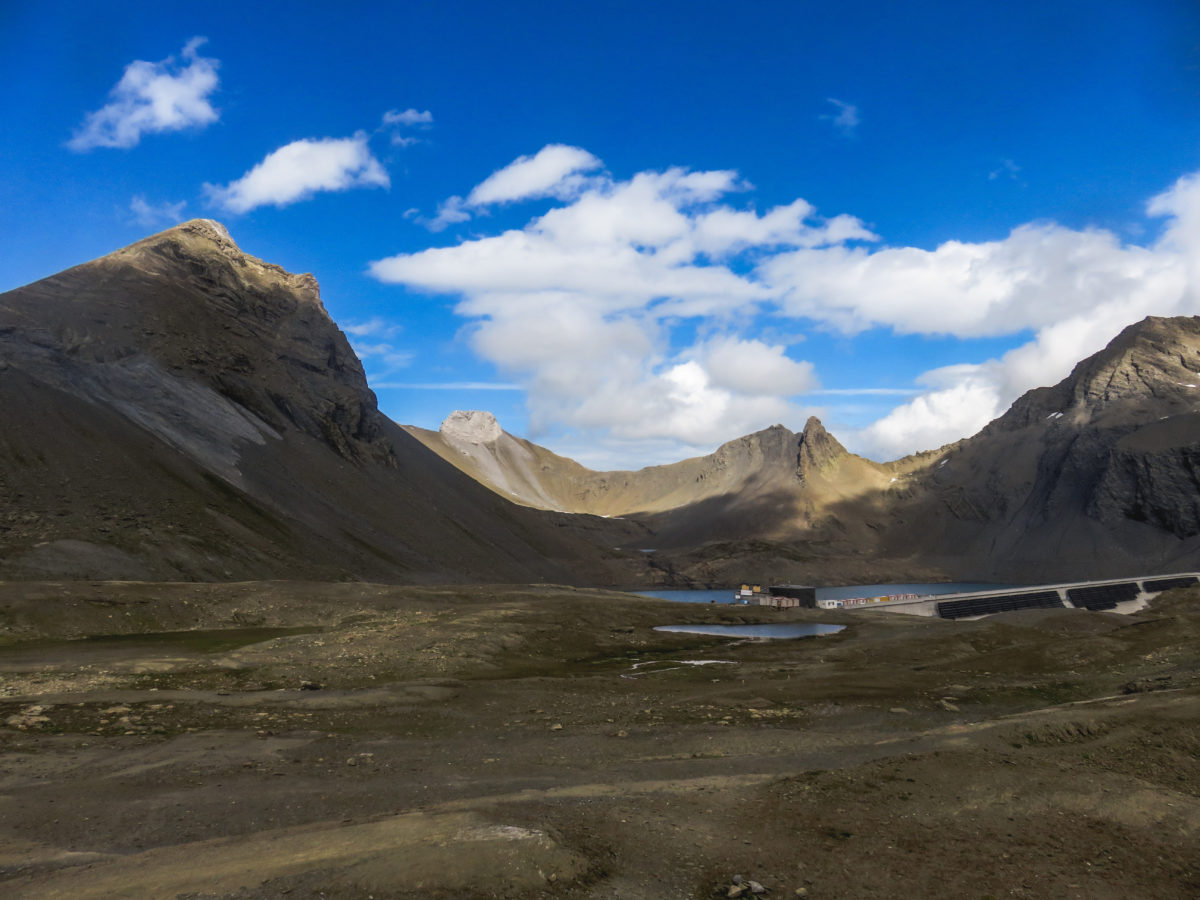
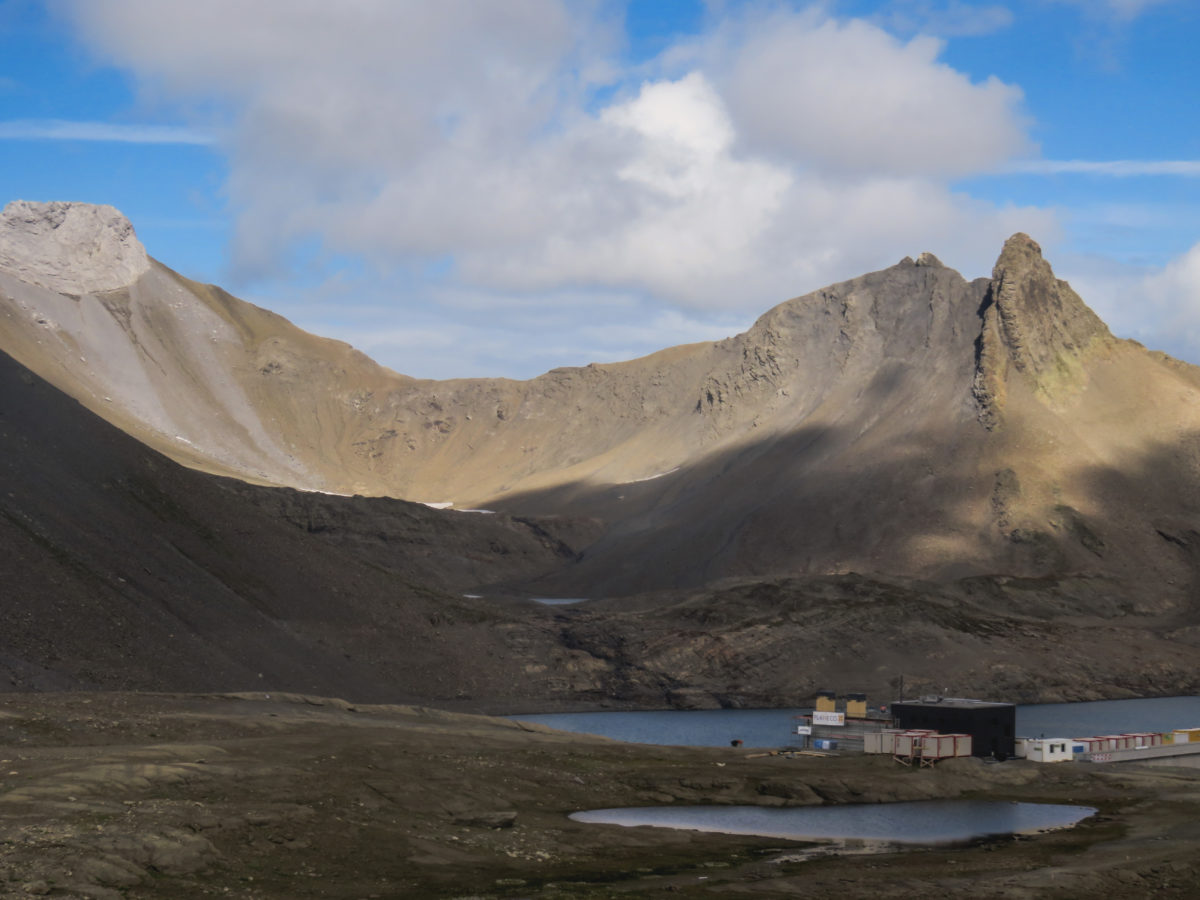
After about 30 minutes, we emerged from the tunnel onto the banks of the Limmernsee. The landscape was already breathtaking. Just by settling down for five minutes to admire the scenery, I cannot contain my excitement to climb the mountain behind me, which promises an even more wonderful view of the lake at my feet.

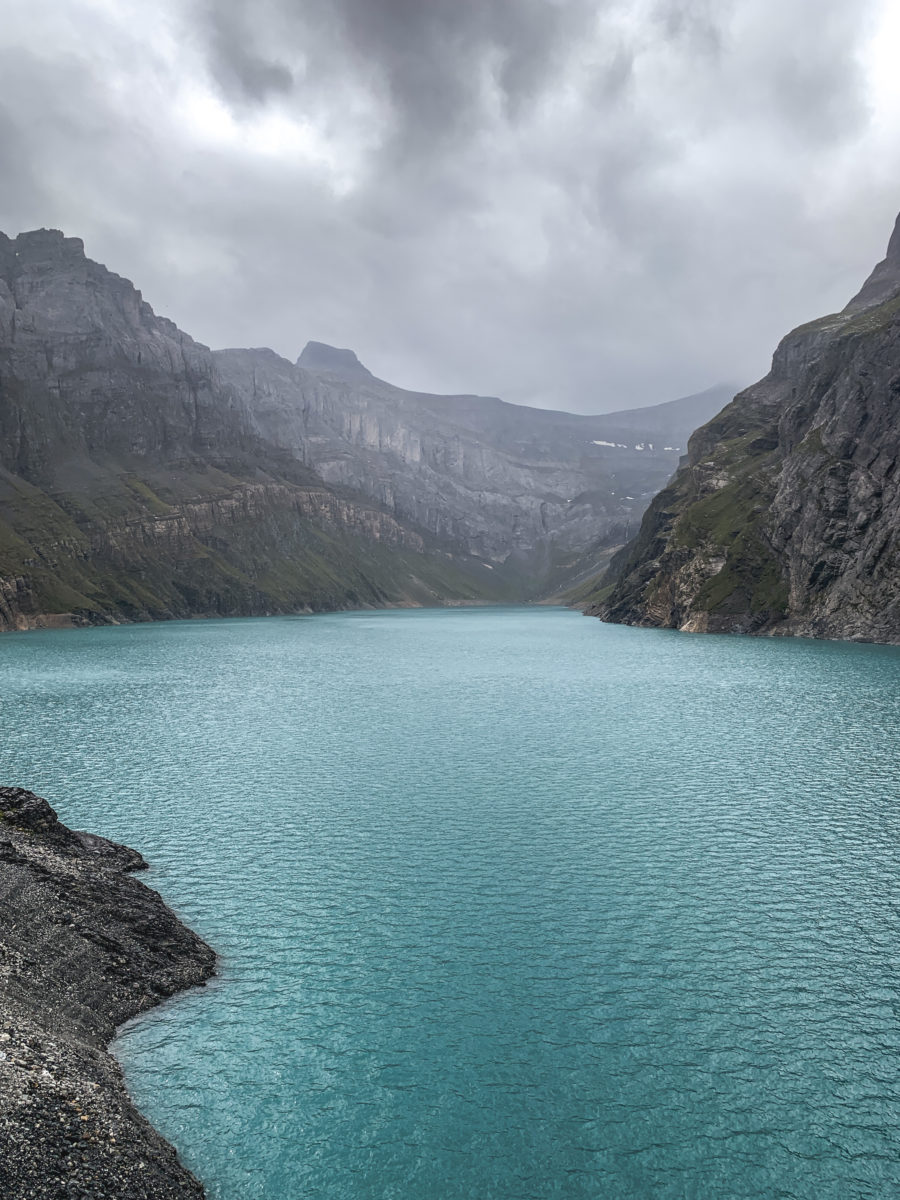
The lake has been “built” by the dam, which supplies the hydroelectric power station. Depending on the height of perception and especially on the weather, it can be a greyish blue when it is in the shade or a jade green when the sun shines on it. A thousand facets that we will discover rather under rainy weather.
Limmernsee bank – Muttseehütte
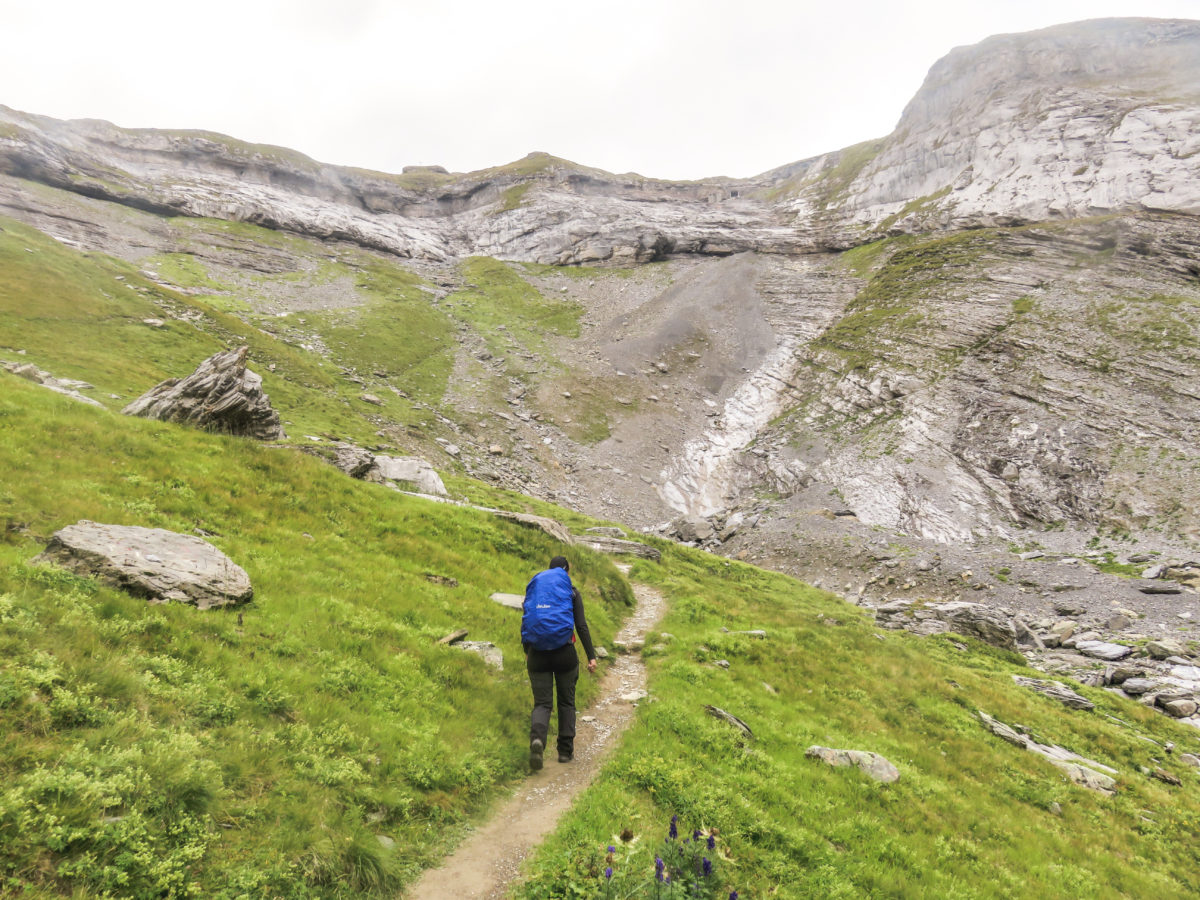
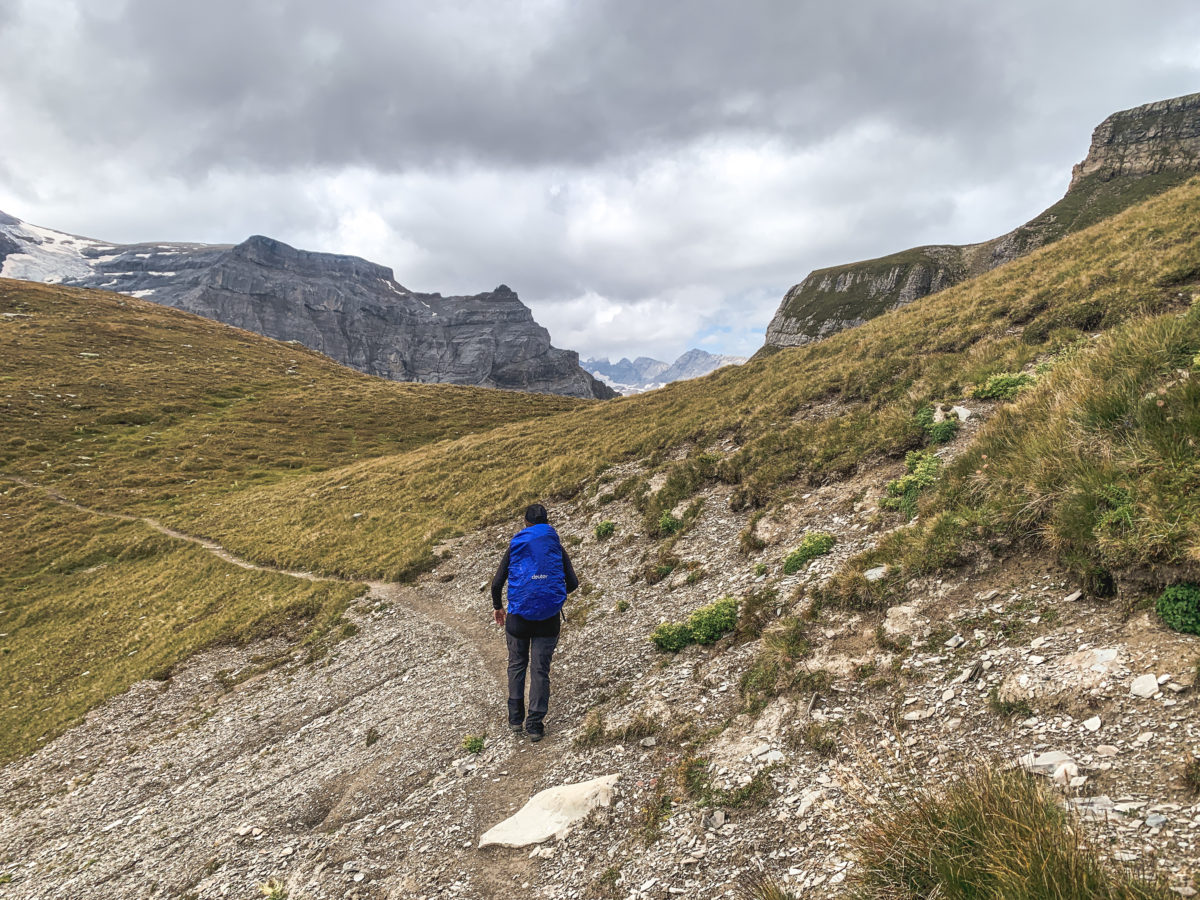
From the shores of the lake, we started to climb gently towards the Muttsee hut. The hike itself is not very difficult or technical, but we were glad to do it this way, as the difference in altitude was sometimes quite noticeable. Indeed, it is a rather intimidating climb that goes straight up from the start without much break, flat.
The notion of time escaped us, not knowing where specifically the hut was located. Only a sign at the exit of the tunnel indicated about 2 hours of climbing. We then had to follow the official tracks marked in red and white directly on the rocks. Our landmark was the lake, which we gently left behind us, but from which I kept looking back, as great views were revealed the higher we climbed.

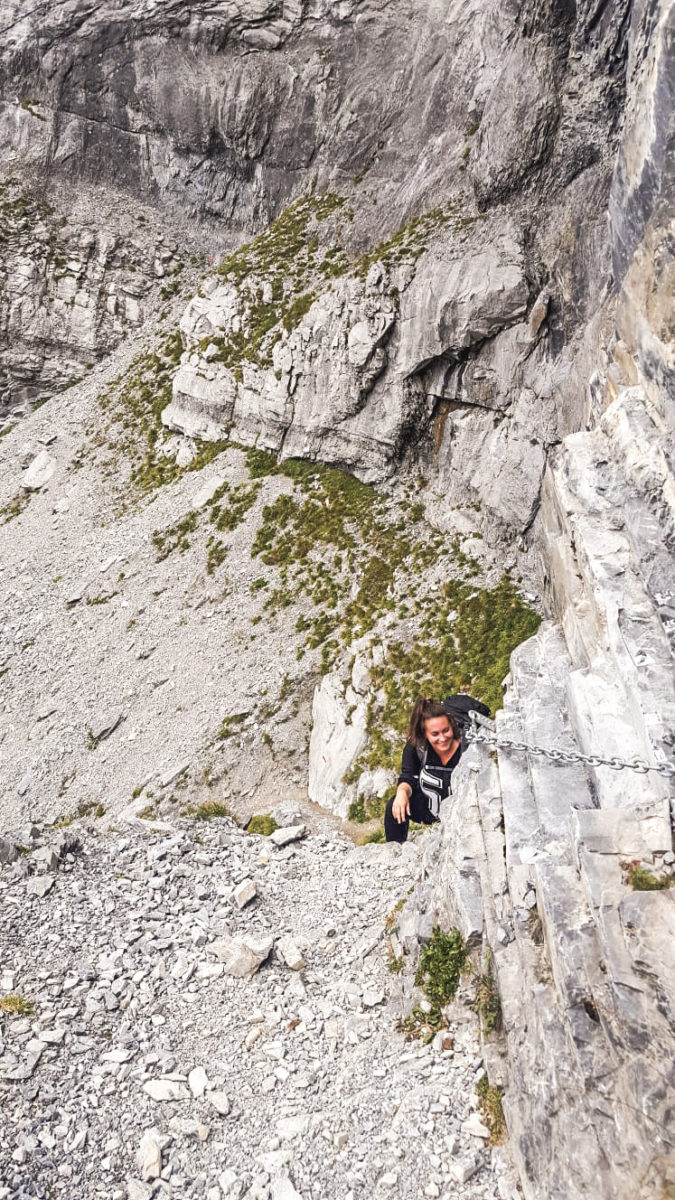
We found a few short passages that were a bit more technical, secured by small chains to help the hiker. We were still escaping the rain, but the dark clouds on the horizon did not bode well for the future. Our goal at this point was to reach the Muttseehütte before the rain.


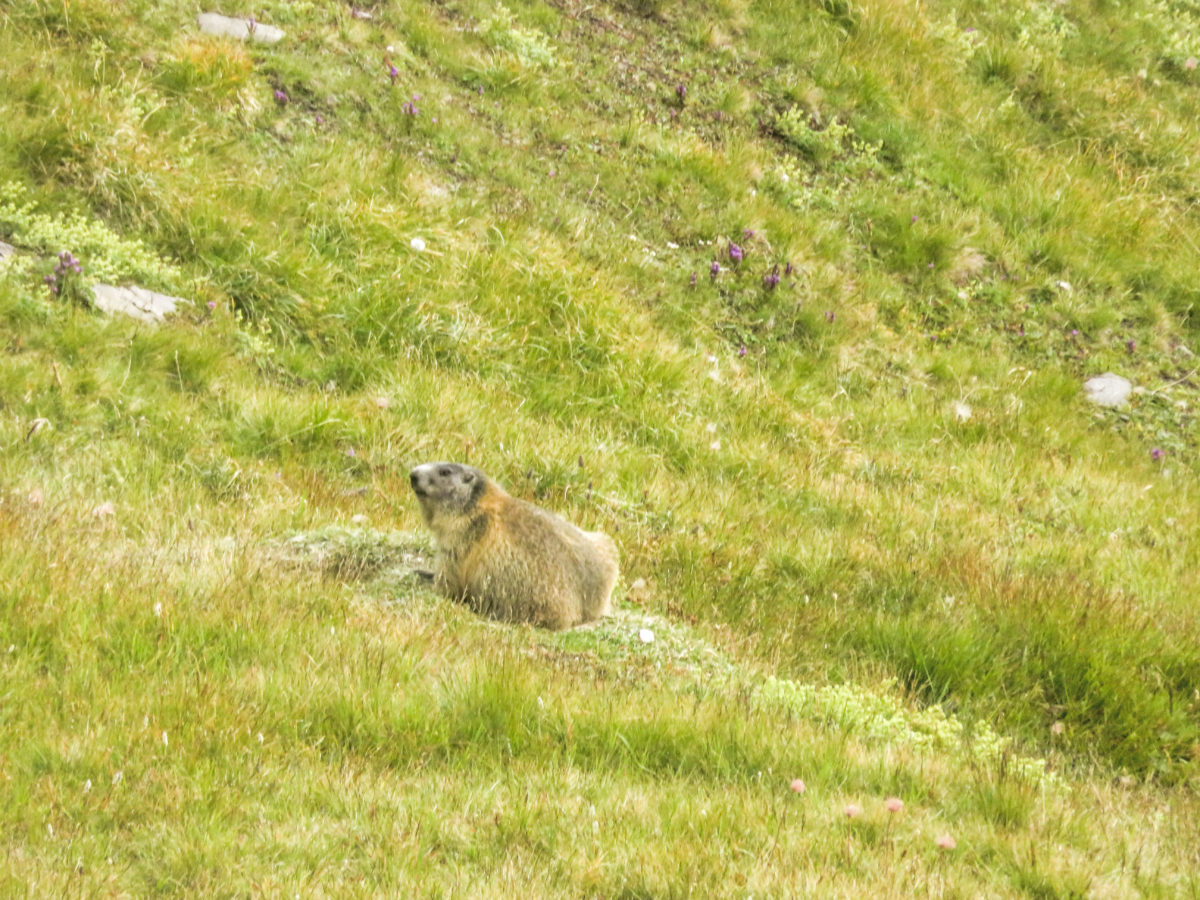
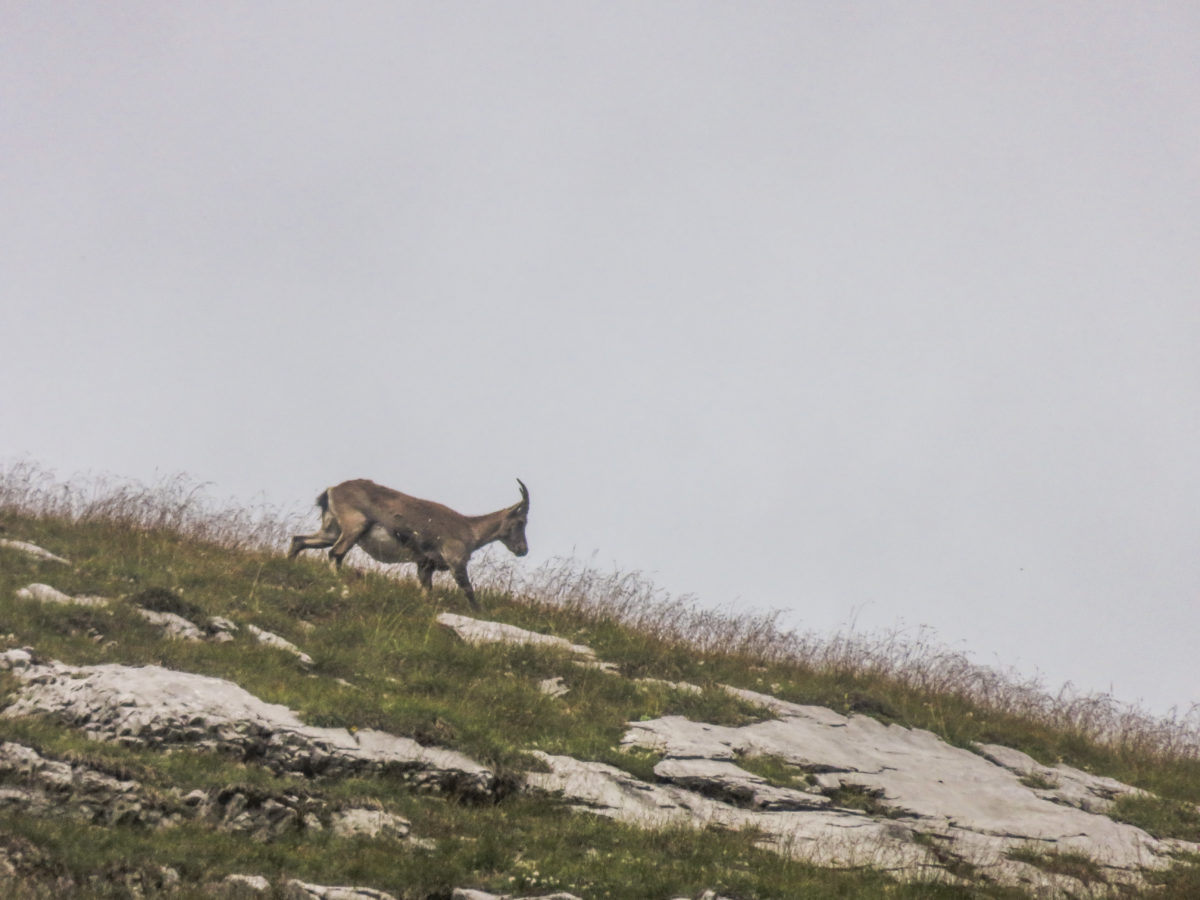
However, we lost a little time as the magic of mountain hiking allowed us to see many animals, such as marmots and ibex. Although not directly on the official trail, keep an eye out for wildlife around you and the surrounding cliffs.


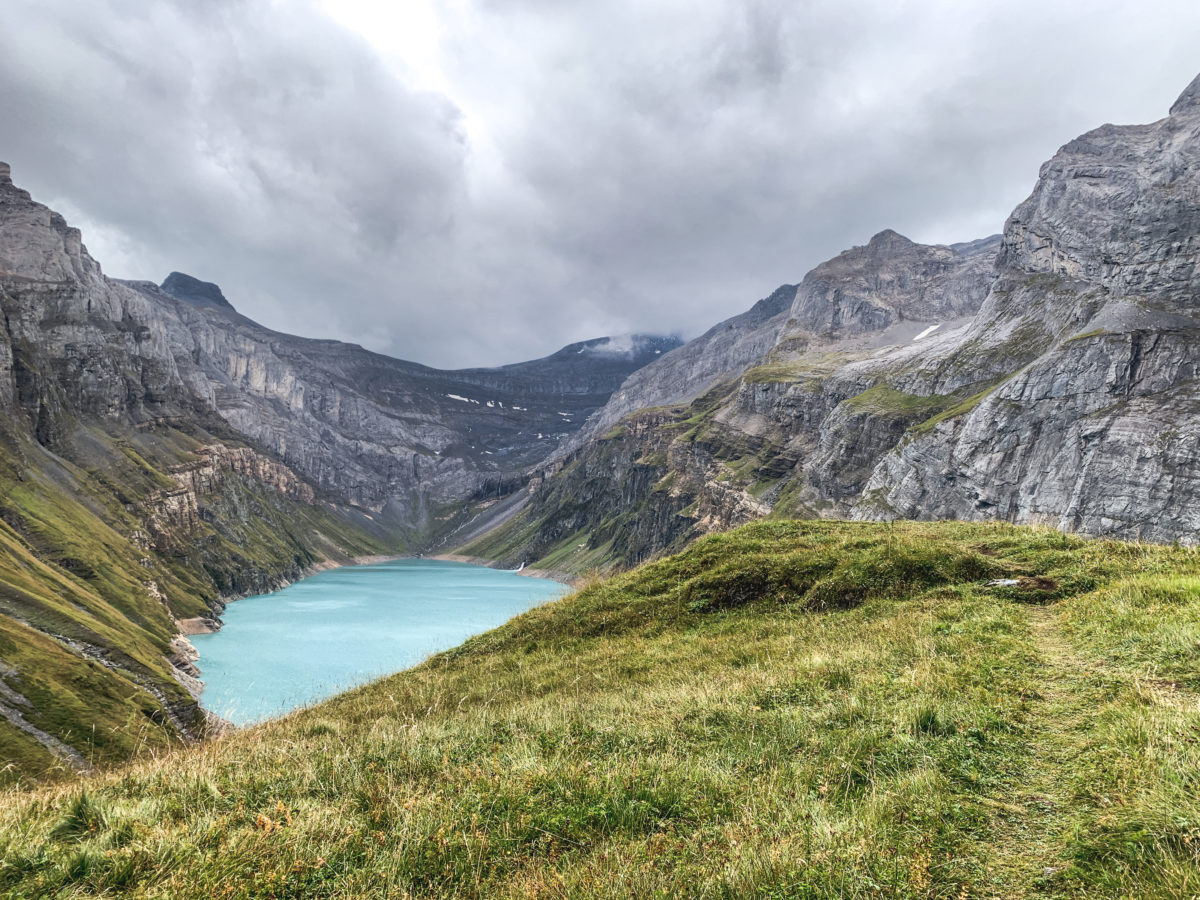
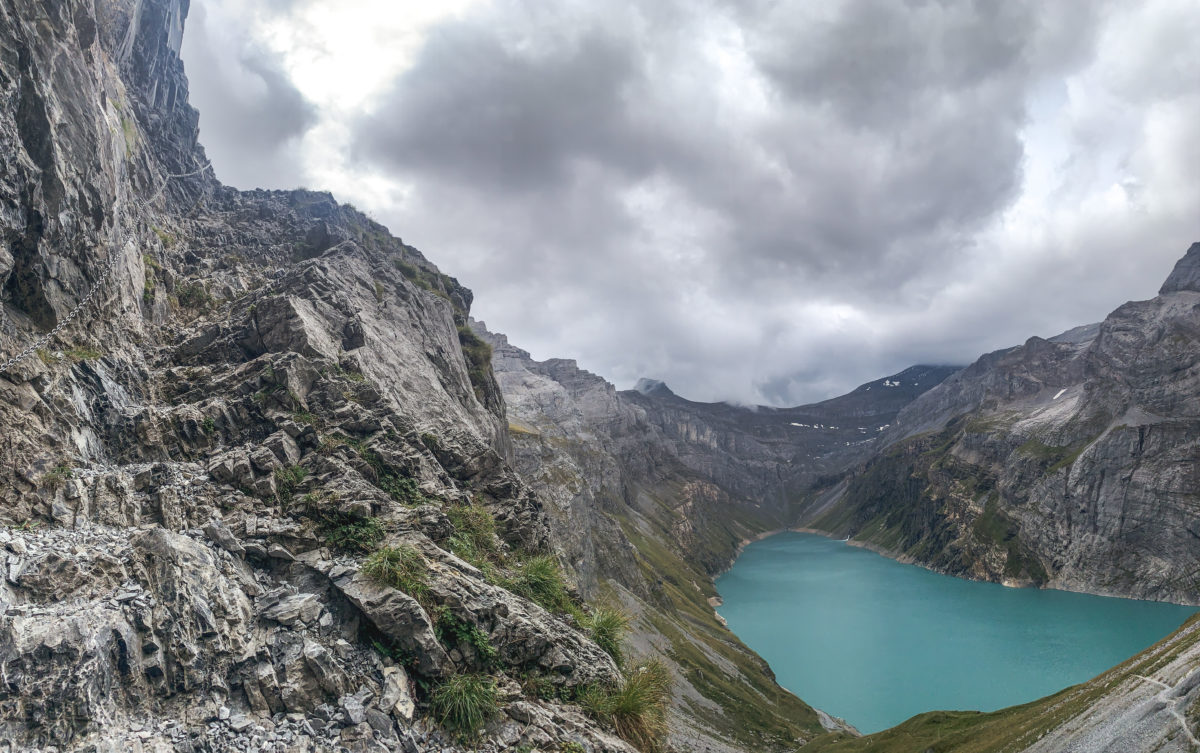
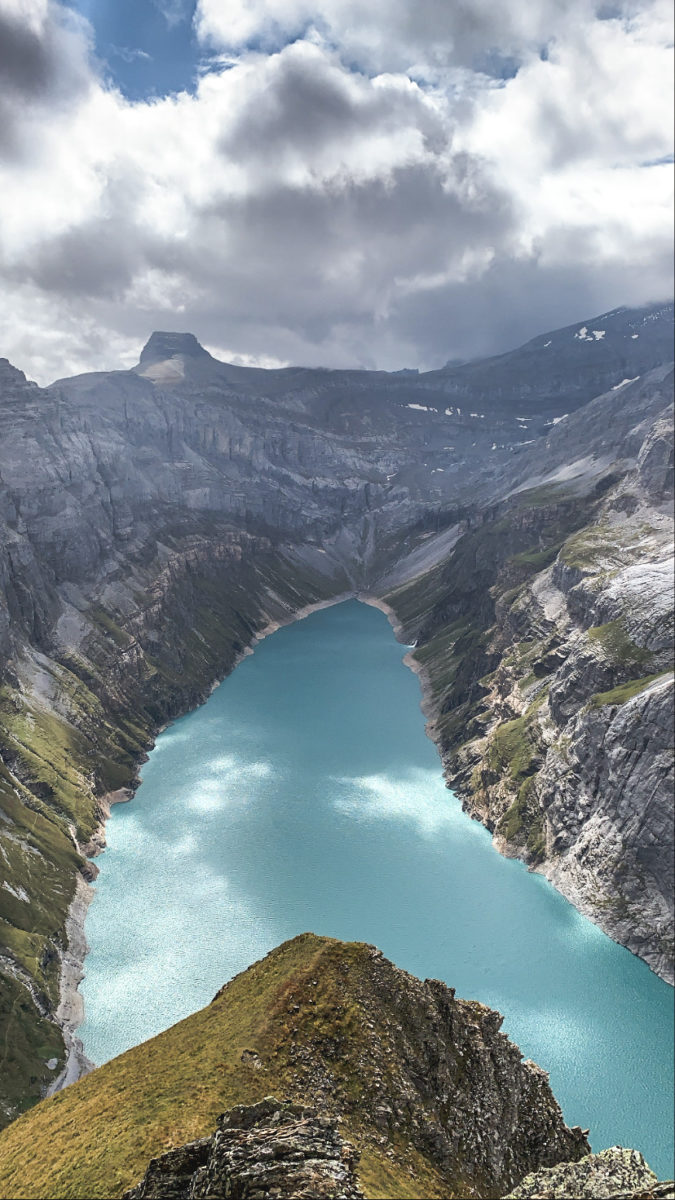
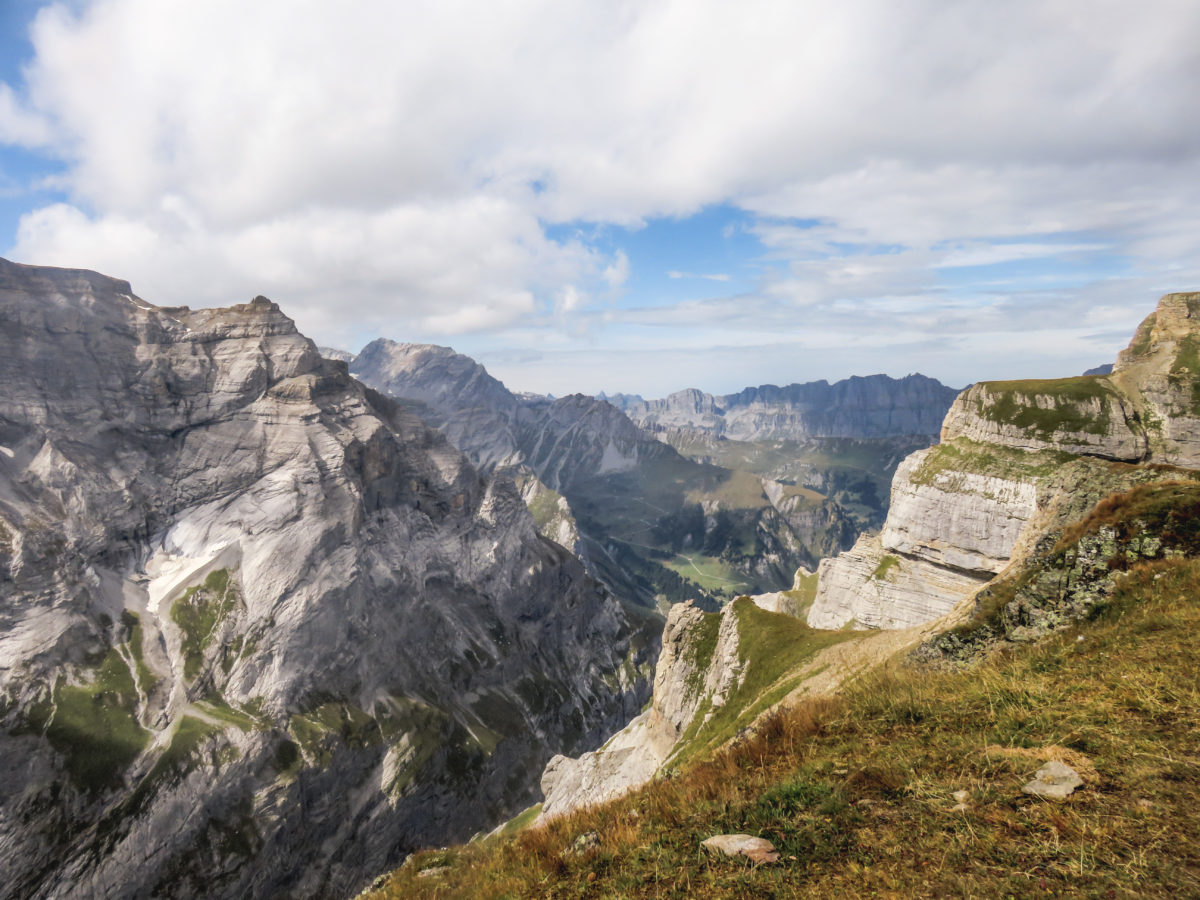
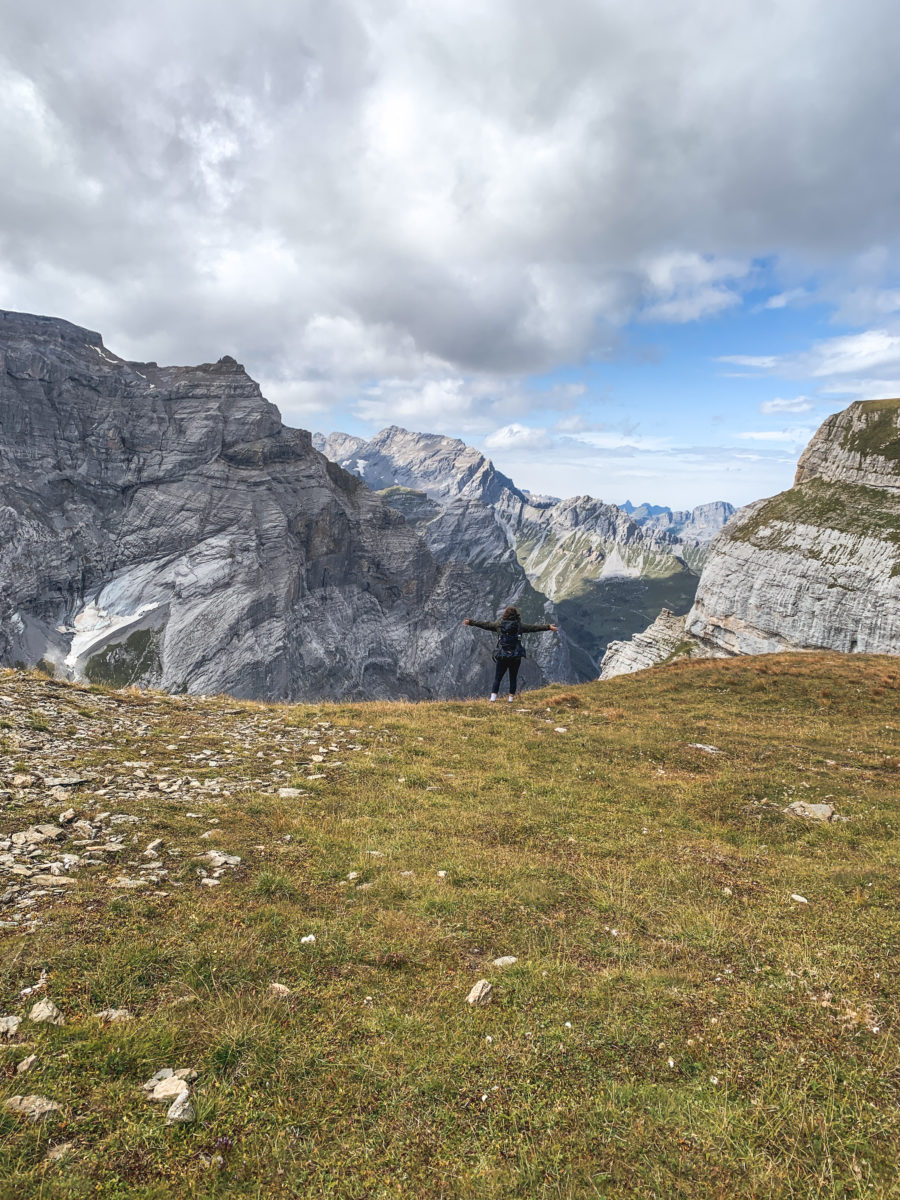
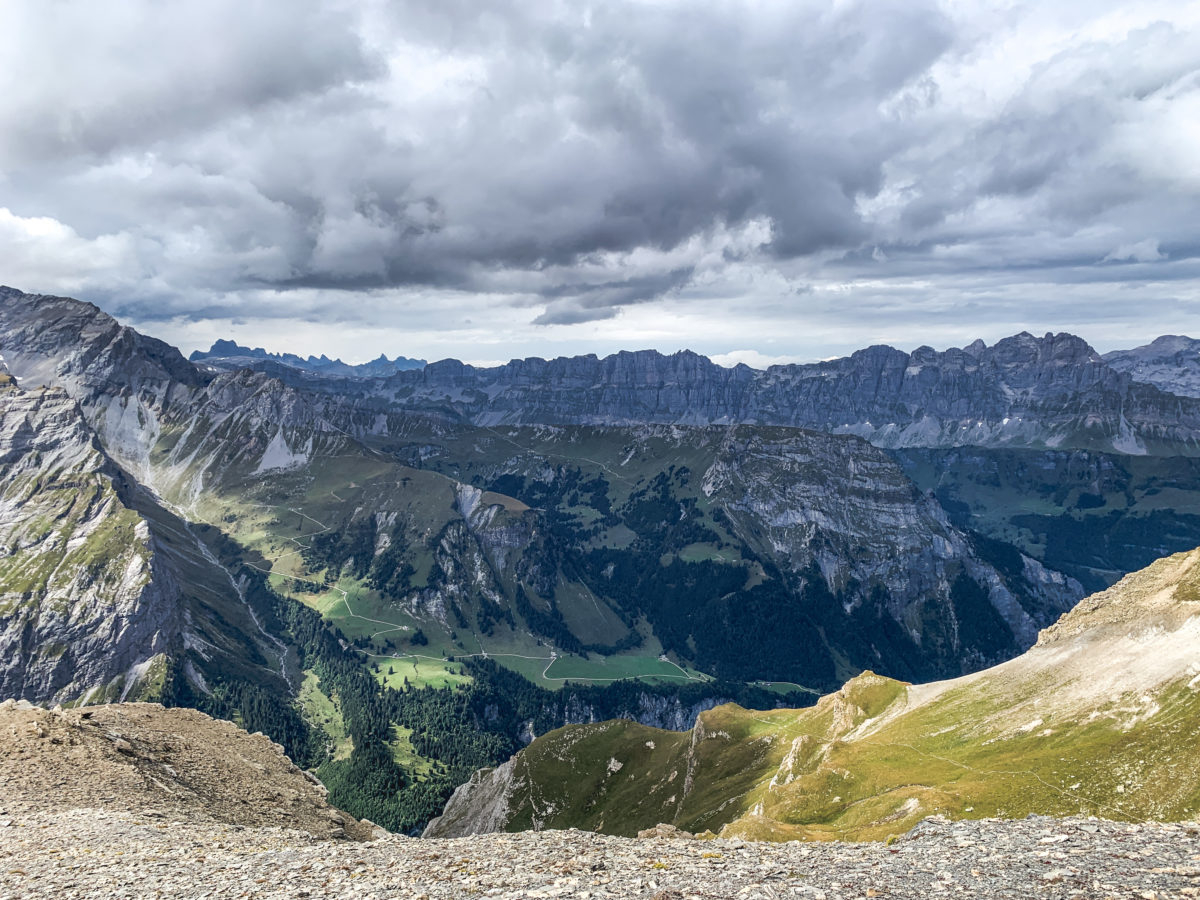
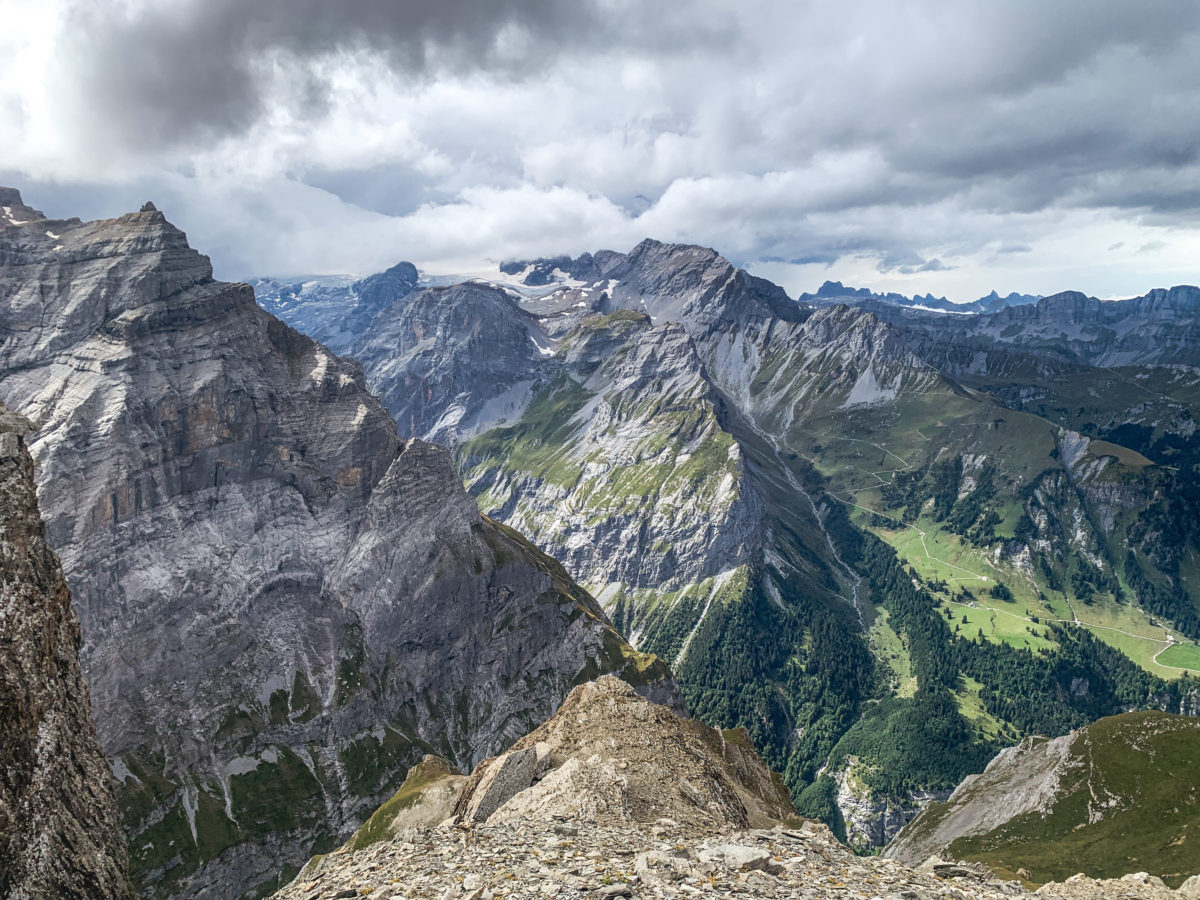
We then finally arrived again at the yellow signs indicating on the right the Muttseehütte and on the left the “official” viewpoint on the Limmernsee at the top of the Muttenchopf (2’482 m). To reach it, it takes about ten minutes, as well as braving a strong and noisy wind. A welcome coolness after the climbing exercise that had warmed us up. Believe me, the view makes the huffing and puffing worth it!
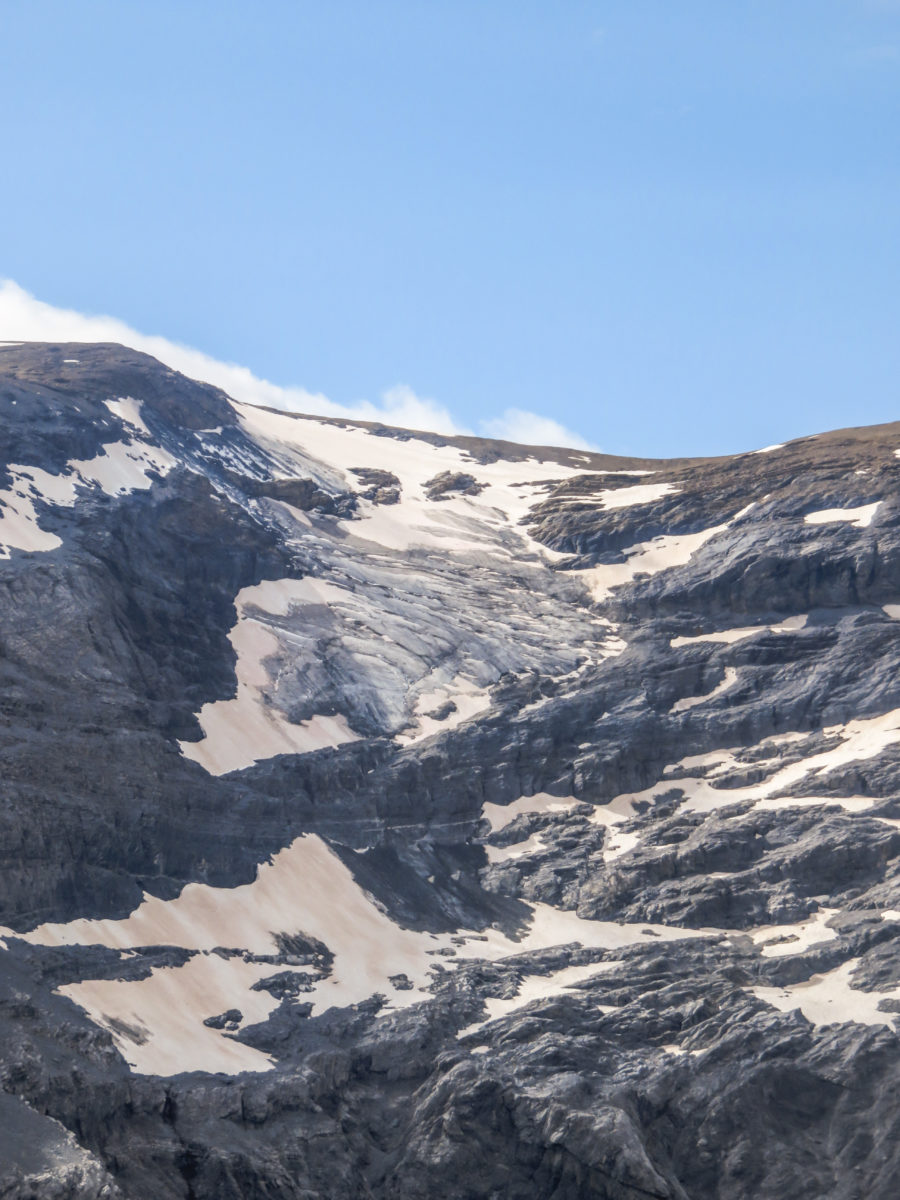
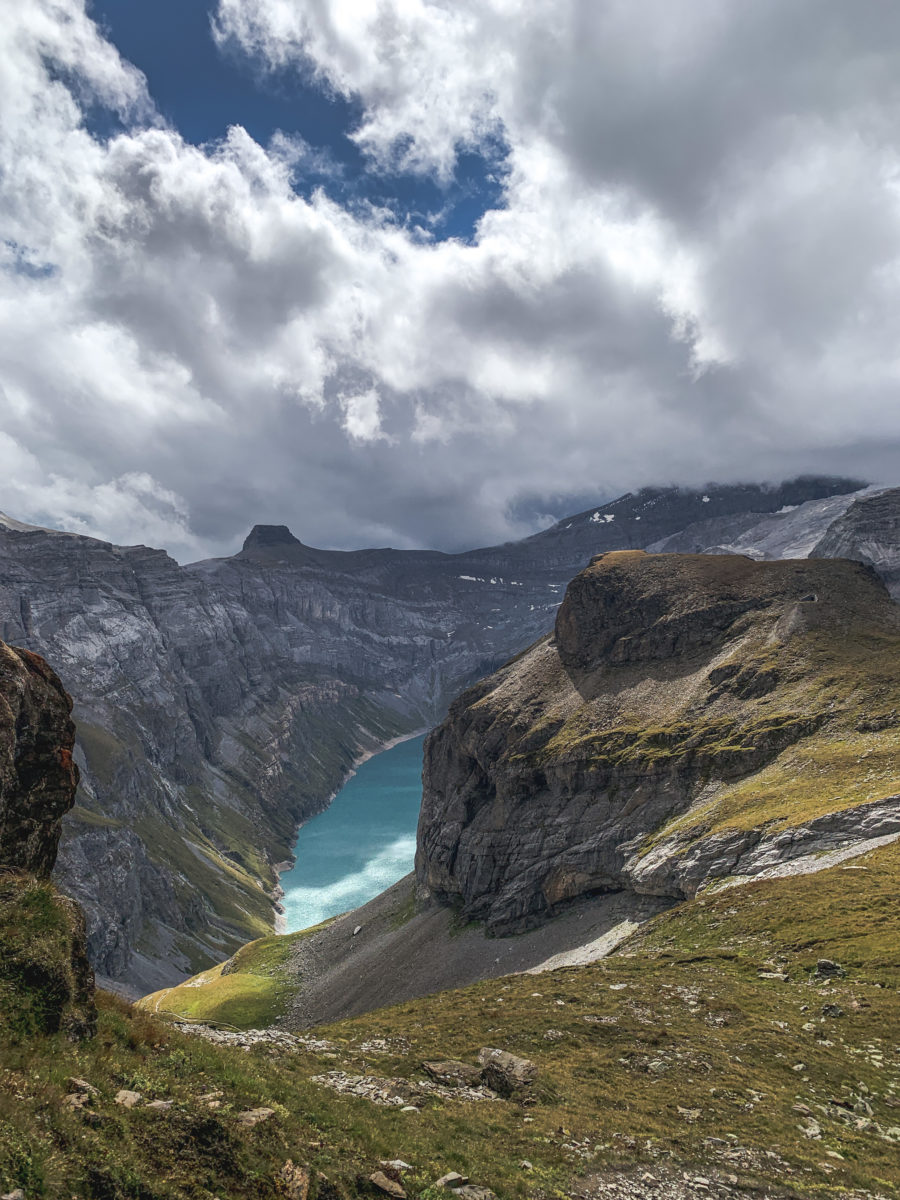
In a few minutes, the light can change, as can the colour of the lake. This fjord effect is certainly breathtaking. In addition to the shining Limmernsee, the surrounding landscape is full of peaks, glaciers, and eventually we saw the Muttseehütte, standing proudly on a small plateau a few hundred metres away.


Muttseehütte – Chalchtrittli mountain station
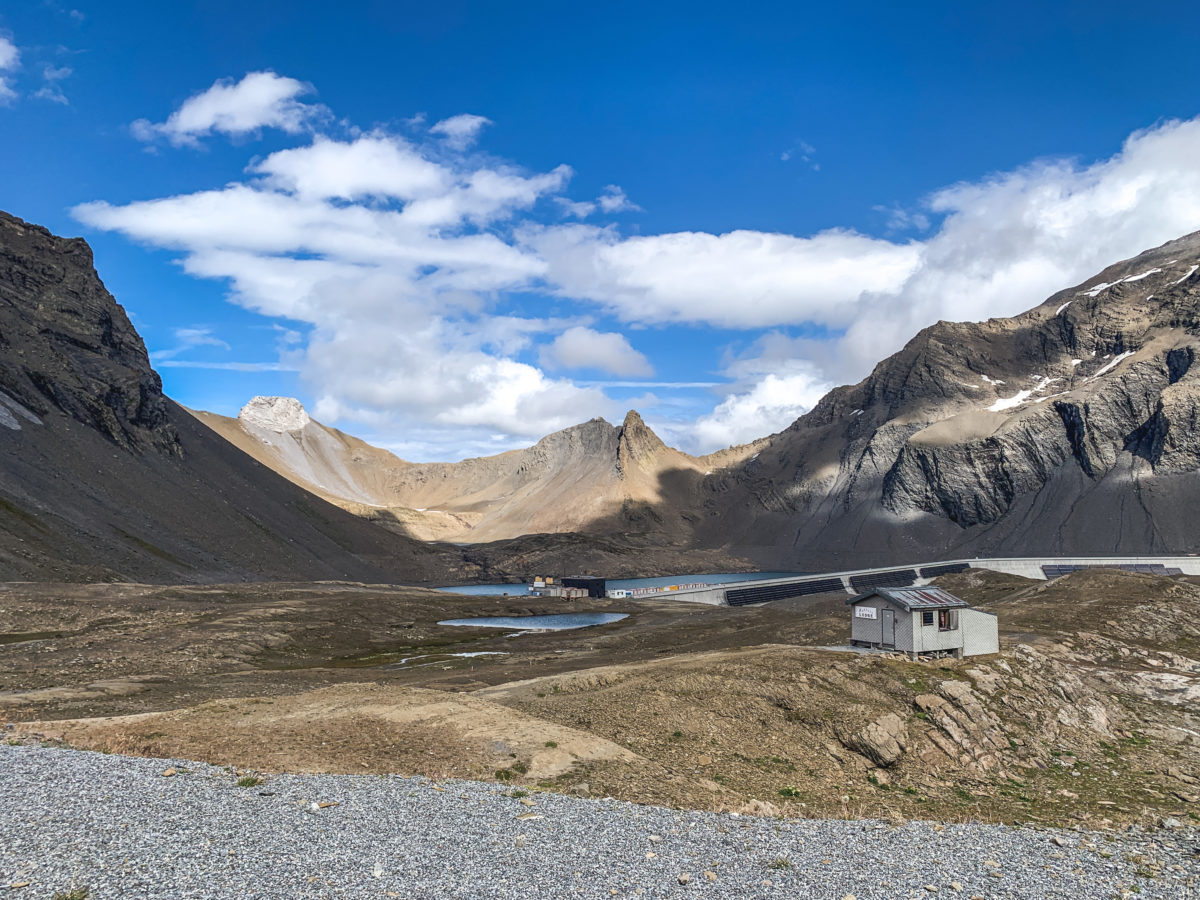
We finally reached the Muttseehütte. It is situated on the Kistenpass and takes its name from Muttsee lake. It is the property of the SAC Winterthur section and a base for the Via Glaralpina long-distance hiking trail. The main point of interest is a newly built dam. At 1,054 metres, the dam is the longest in Switzerland and, at around 2,500 metres above sea level, the highest in Europe.


If you wish to stay overnight at the hut, you will need to book online. The website provides all the necessary information (half-board, prices, etc.).
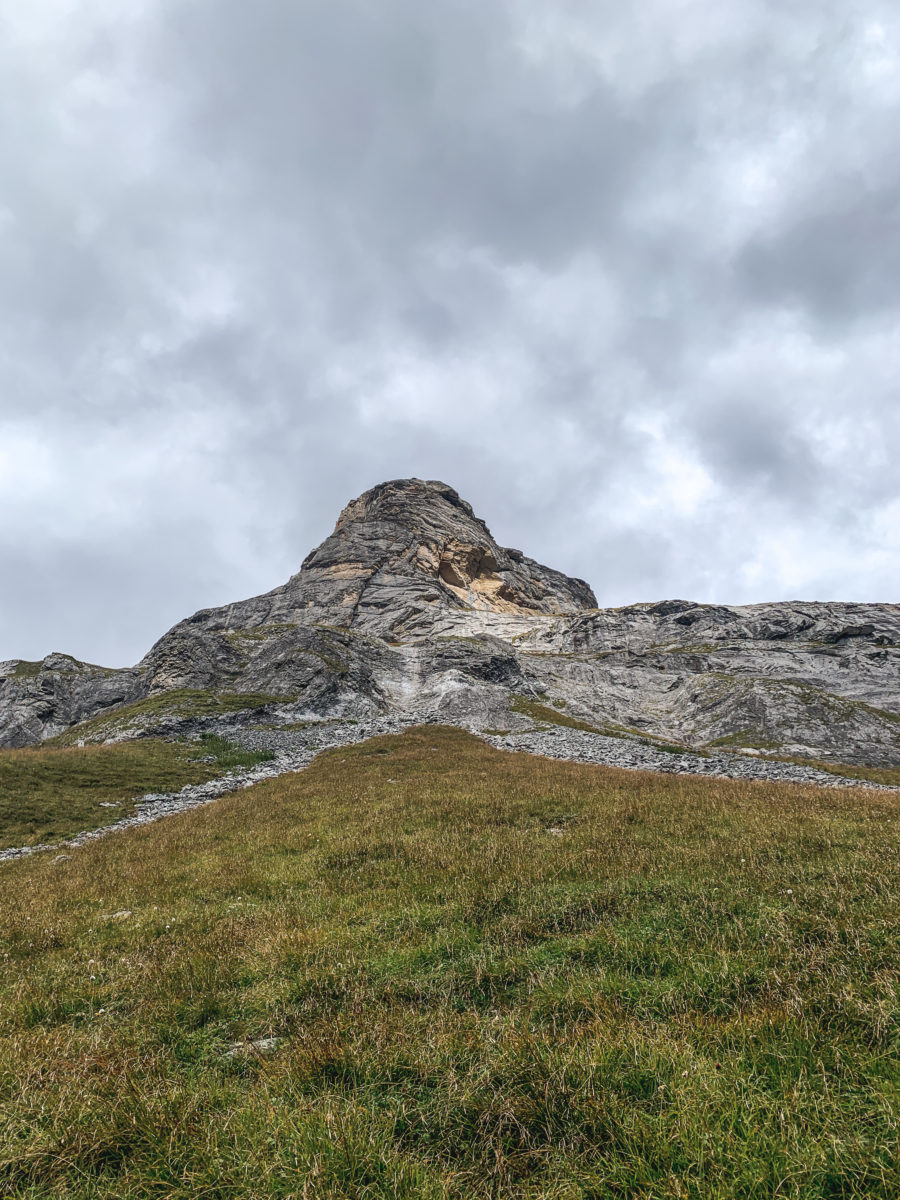
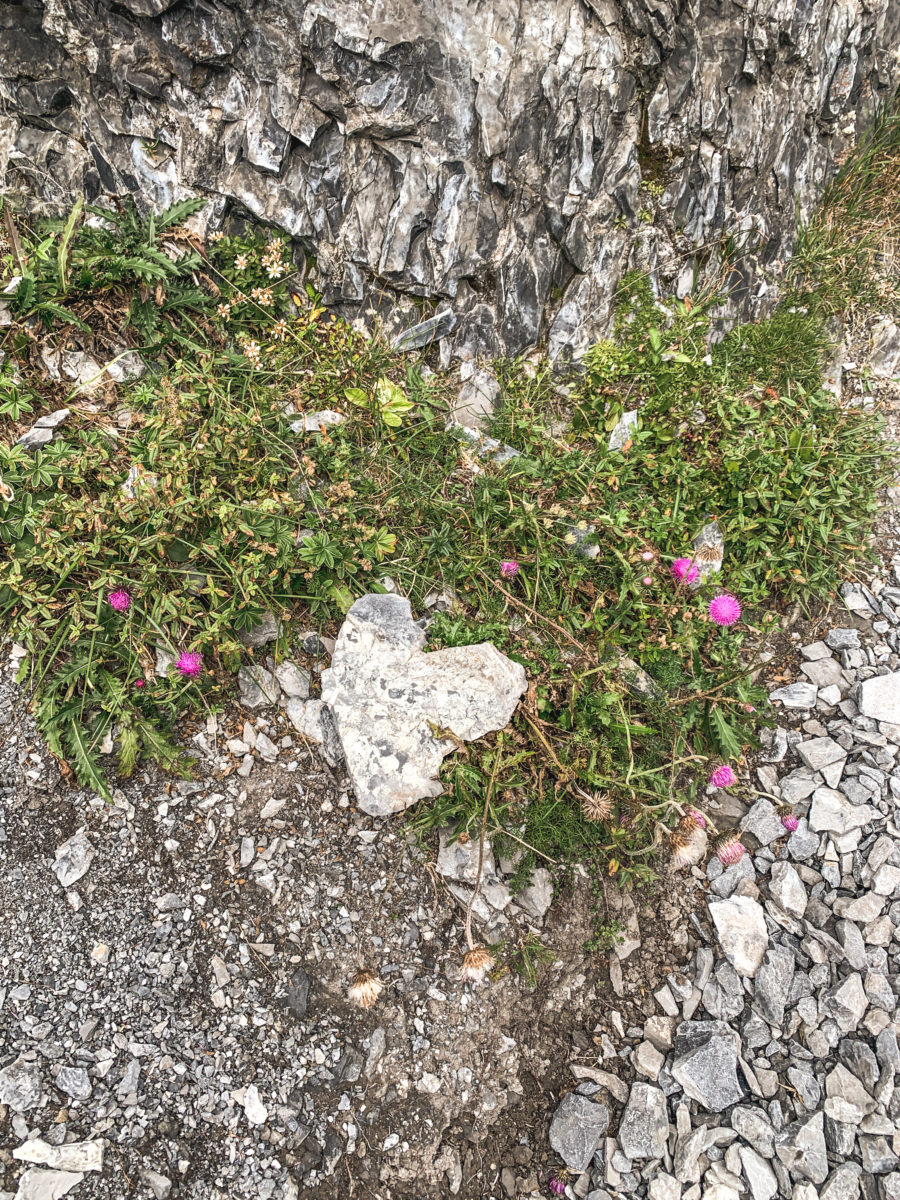
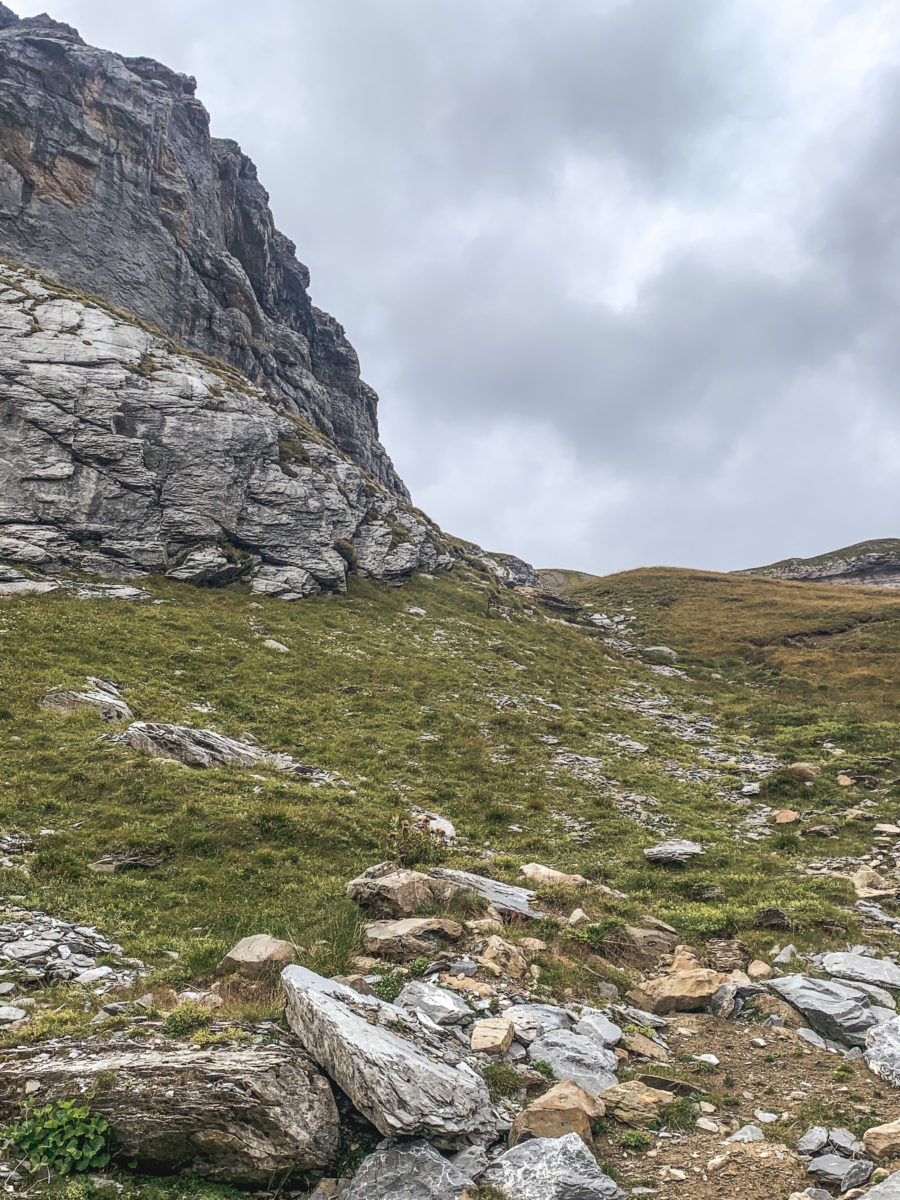
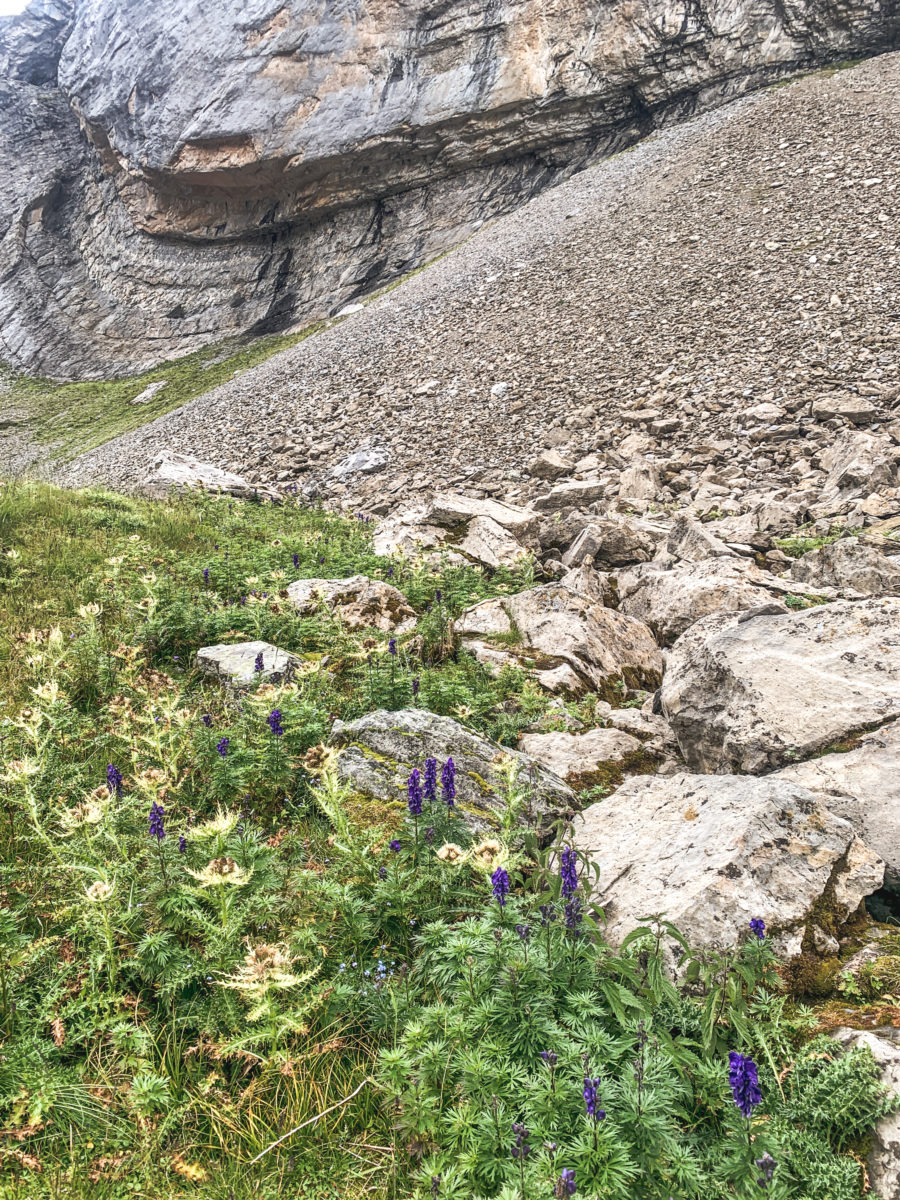
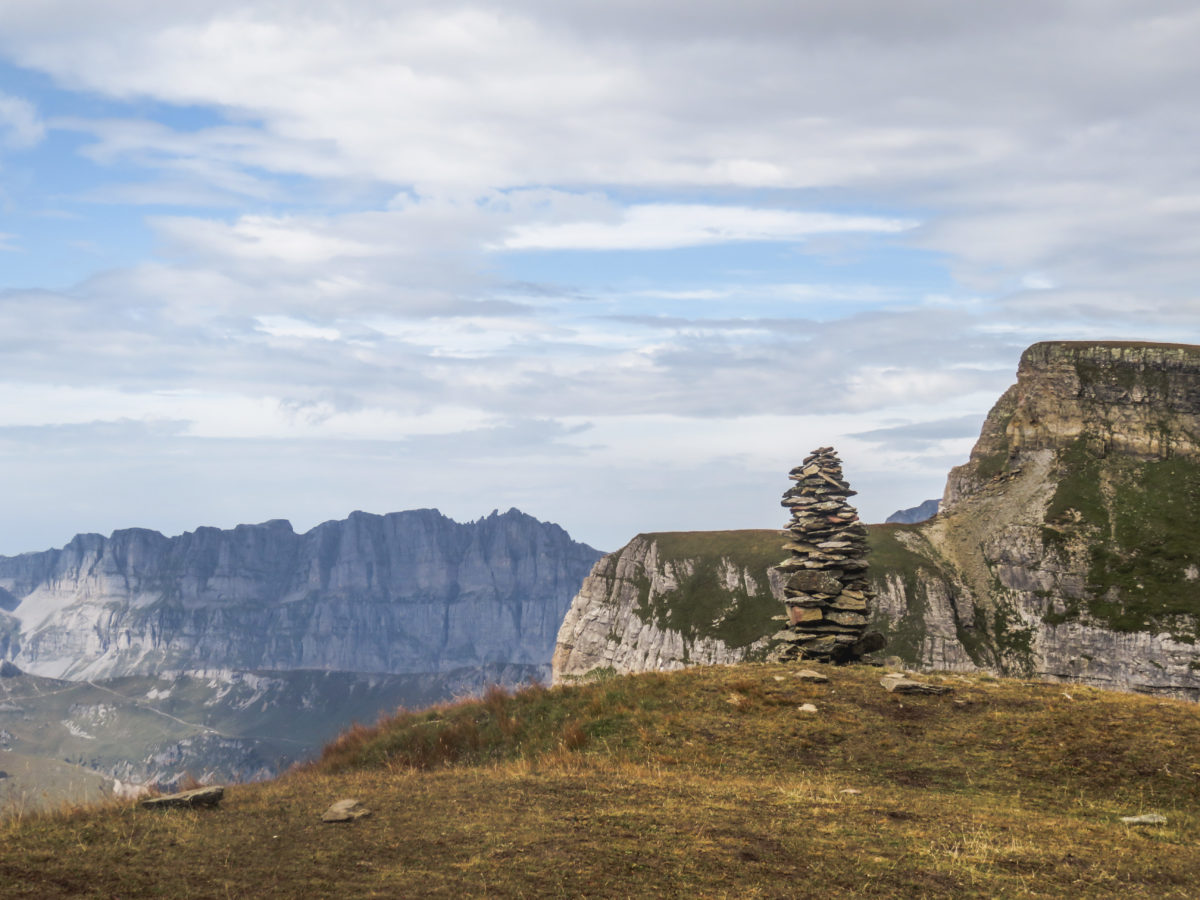
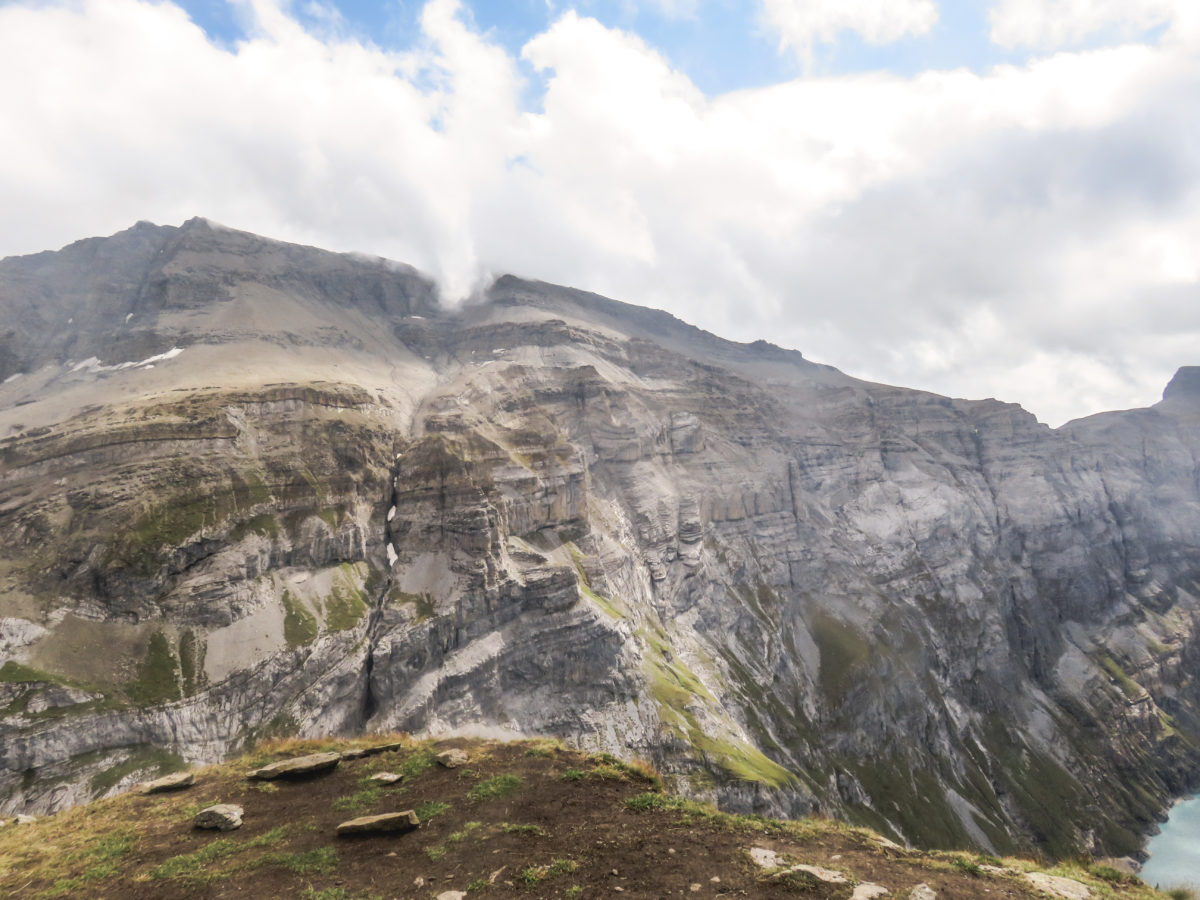
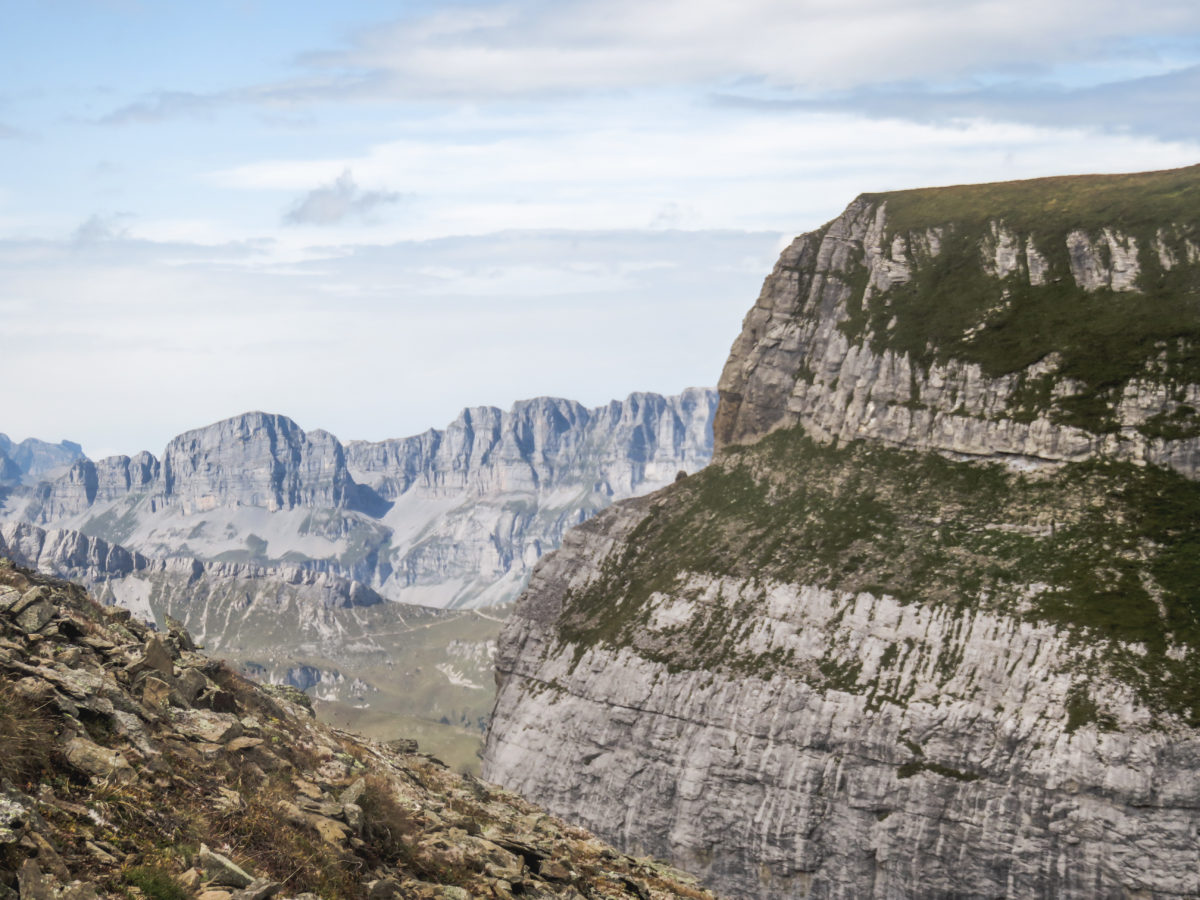
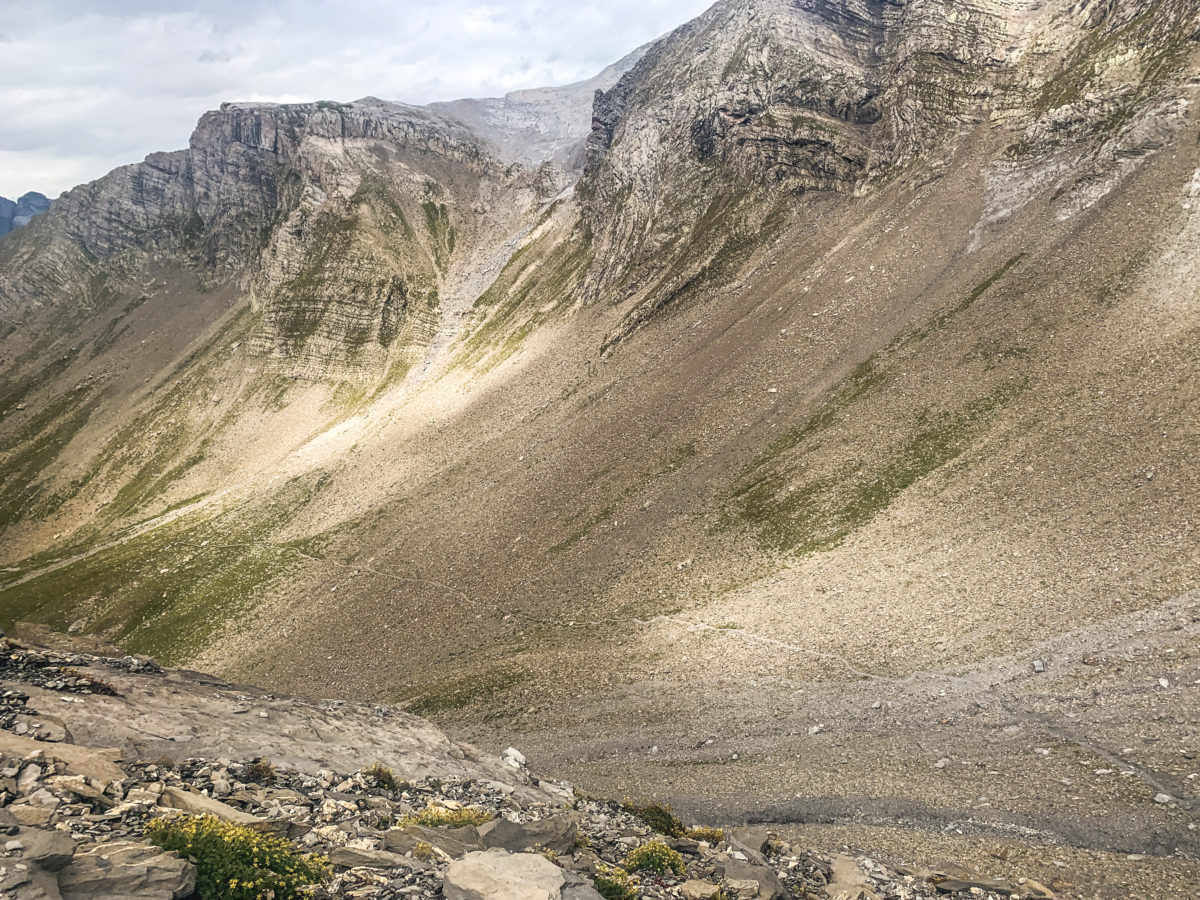
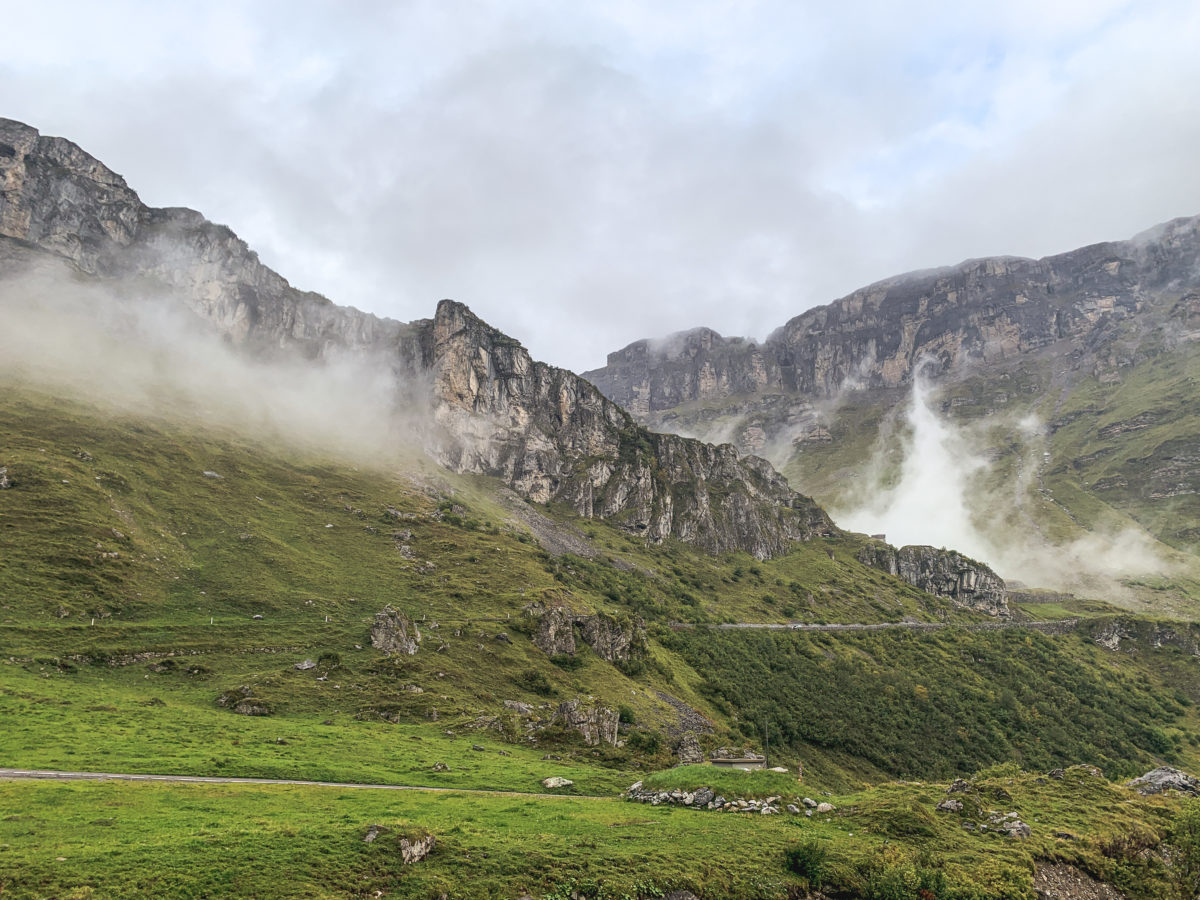
A light rain began to fall as we made enquiries about the Muttsee lake, so we took the path to Chalchtrittli. This route promised beautiful views, on the mountainside and passing through various areas rich in flora and fauna or rocky terrain. This section can also be divided into three phases. The first and last sections of the trail are really steep with many twists and turns, while the middle section is mostly flat and leads through meadows.
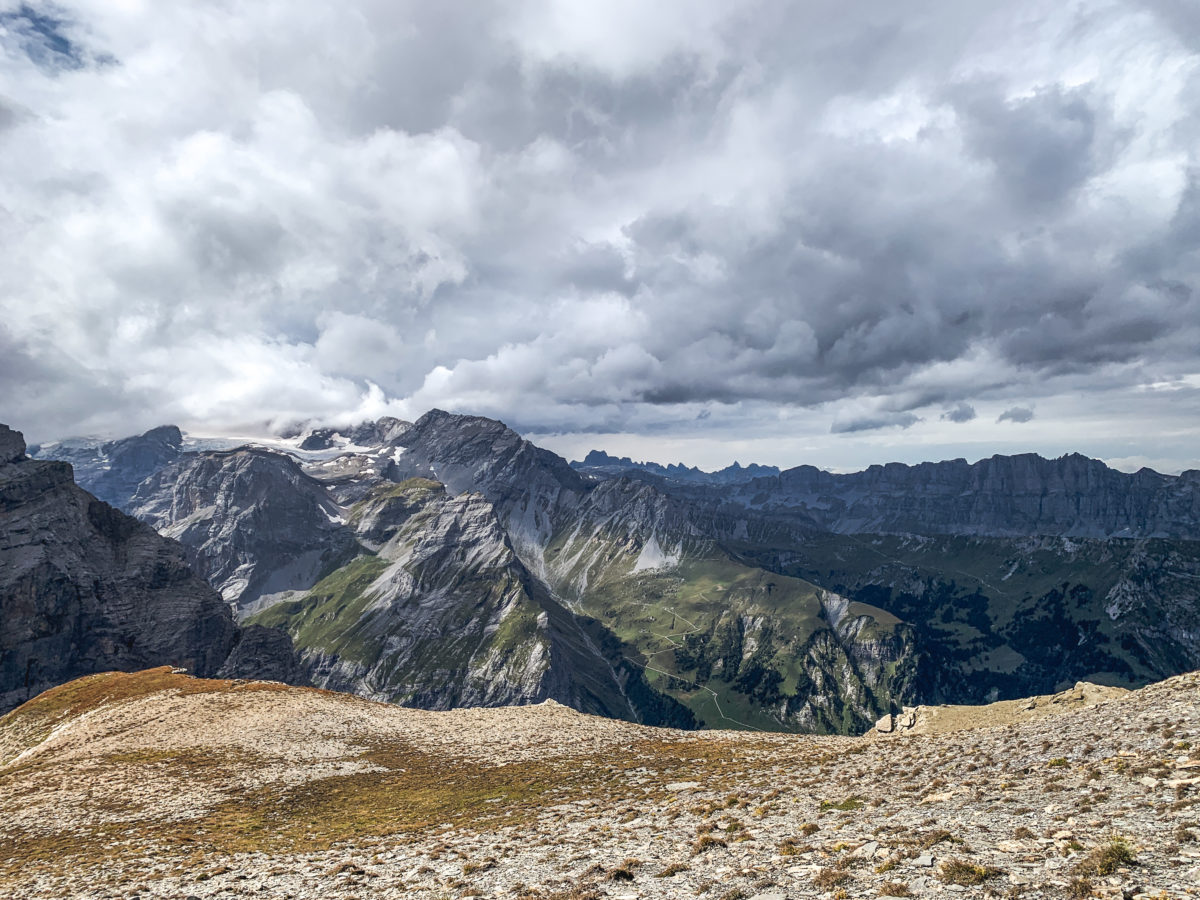
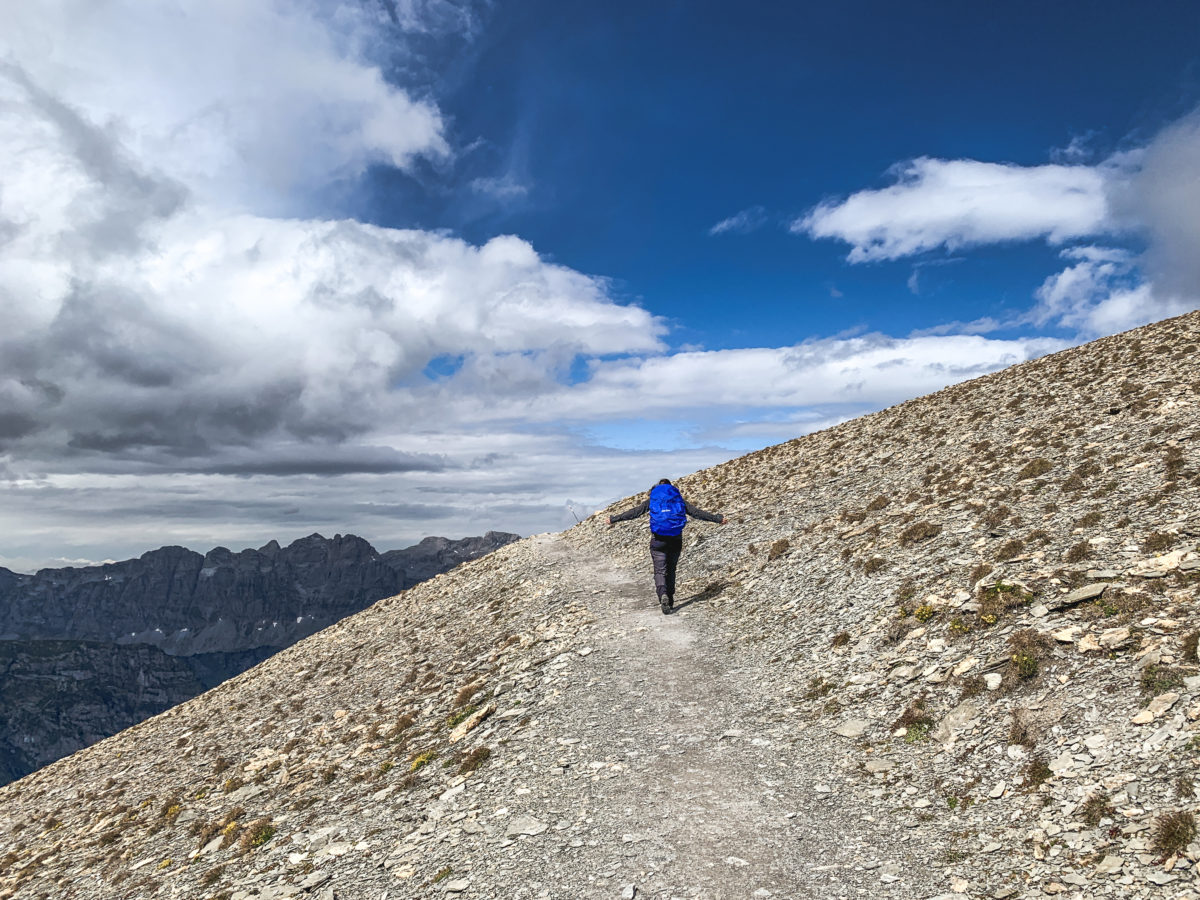


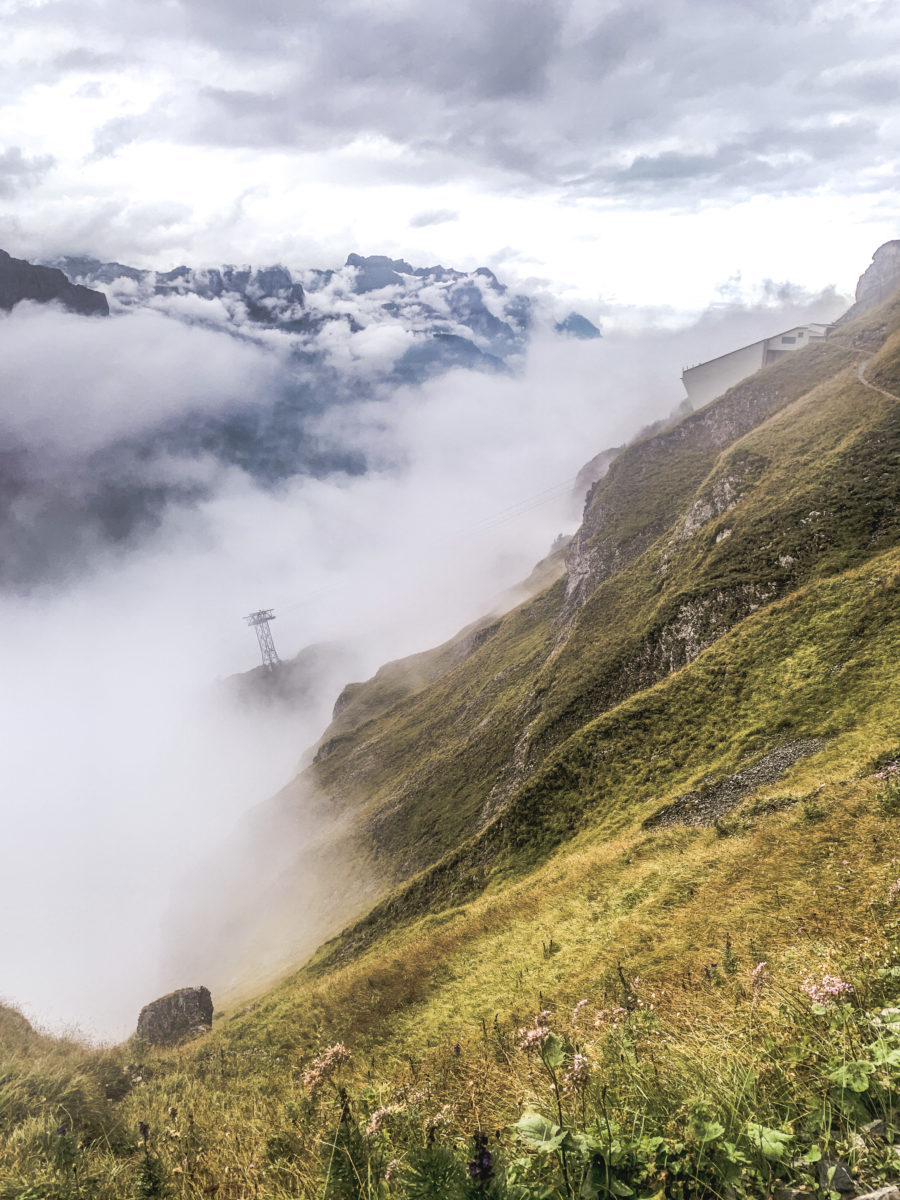
It was from this point onwards that our hike took on another dimension as a big storm broke out. Soaking wet in two seconds and surrounded by mist, it was particularly difficult to see the landscape and to realize how far we still had to hike before reaching the mountain station. On the other hand, not being able to see the path more than 20 metres away meant that we were not aware of the exposed passages on the edge of the mountain. So, if you are prone to vertigo, you might want to consider skipping this section and hiking through the tunnel. When the weather is sunny, you can enjoy incredible views of the surrounding mountains and the valley below. I will definitely be back to enjoy this.
Of course, all these more technical and vertiginous sections are secured with chains. Exhausted by the storm and the first few kilometres, we really had to watch our steps. However, for the first time, we passed other hikers who were climbing to the Muttseehütte.
Finally, we thought we would never get to the mountain station, as the fog covered it. Eventually, we saw it, literally below us, the path winding its way to the cable car.
Where to eat and spend the night?
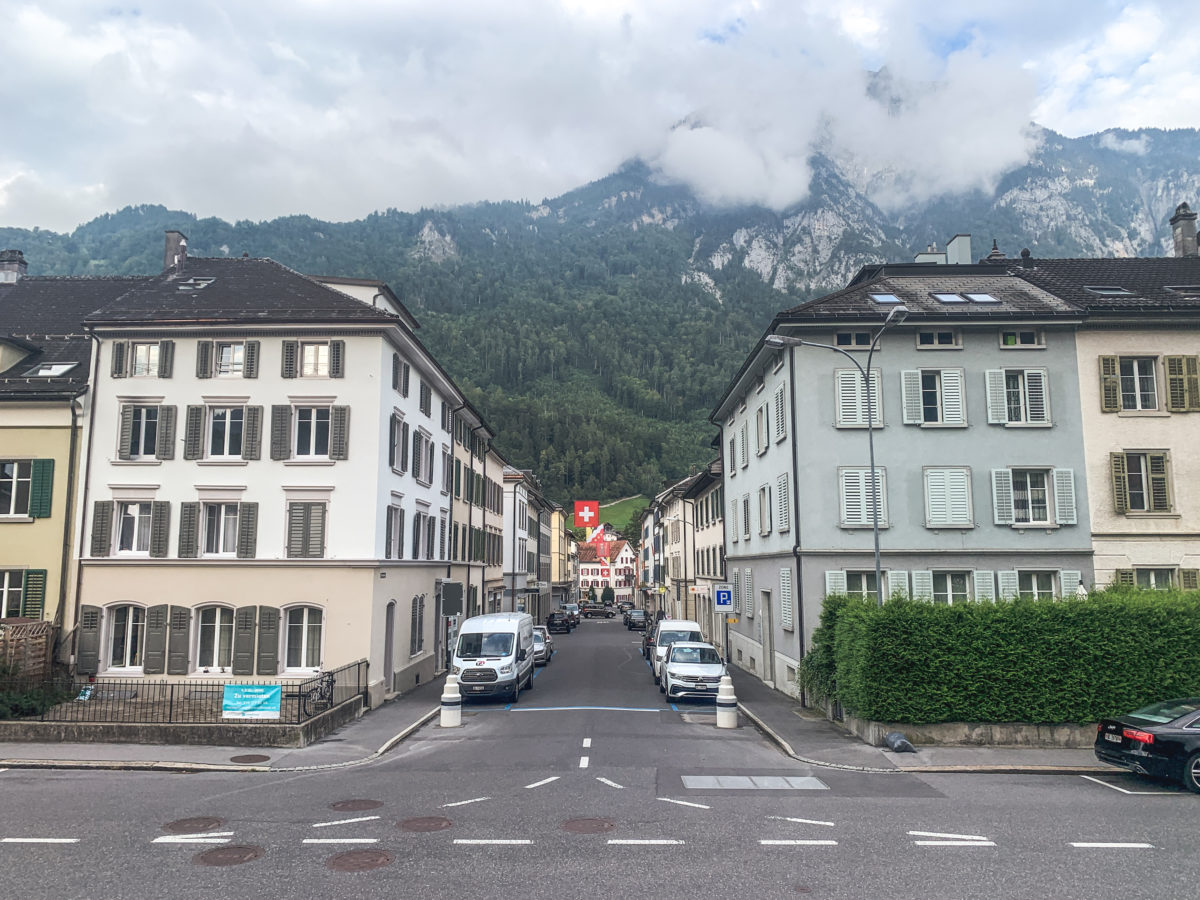
After our journey, the weather calmed down nicely when we arrived at the departure station. It was about 4.30 pm. Starving, we decided to look for a restaurant before finding a place to spend the night.
We set off in the direction of the capital of Glarus, thinking that there we would find something to eat. We were right to do so. The small town of Glarus (yes the canton and the capital have the same name) can be visited in about ten minutes. It is a nice place to pass through where the Ticino or Italian diaspora is felt!
Indeed, I heard more Italian than Swiss-German (and believe me, it feels good…). We had dinner in an Italian restaurant, L’Angolo dei Sapori. The kitchen was open at 5:30 pm as was the terrace which allowed for some welcome sunshine. The meal was delicious, I recommend this address.


We then set off to find a place to sleep. Travelling in my friend’s converted van, we referred to the Park4night. This site indicates places to sleep, without disturbing the owners of the land.
We chose this spot: Spiringen, Klausenstrasse
GPS:
N 46°52’6.6252” E 8°52’31.3212”
46.868507, 8.875367
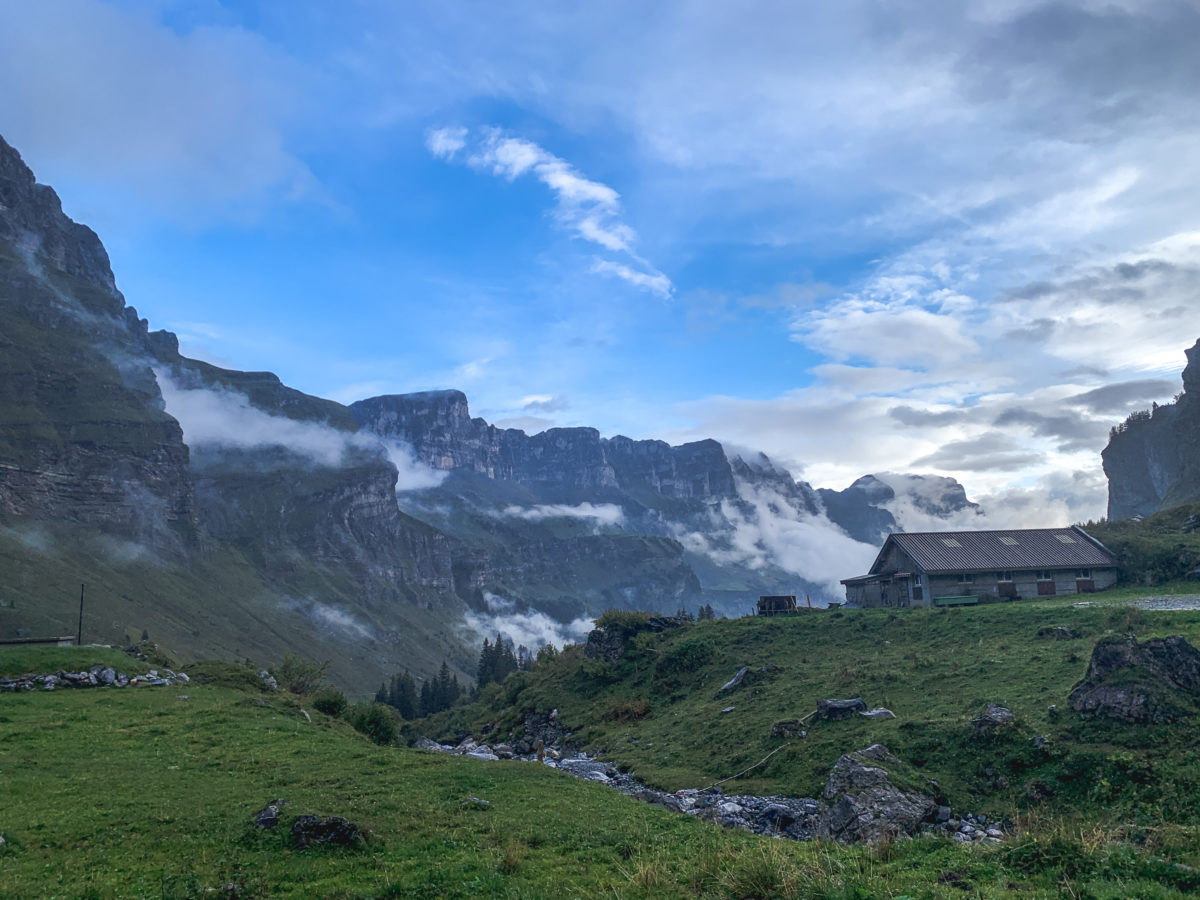
Comments said that the spot was ideal, next to the road through the Glarner Alps, and that the owners were very nice. We wanted to ask them if it was ok to park the car for the night, but arriving around 8 pm, we saw no one and no lights on.


The next day, we woke up to the sounds of cows and farmers coming to work on their land. We announced ourselves, and they told us that it would be fine if we stayed a while longer before moving on to other adventures in the Urner countryside.

A unique hike in a tunnel and majestic panoramas, what more could you ask for to discover Switzerland?

Just a small remark from a local: as from 2025 camping, bivouacing and letting a drone fly is forbidden in the whole area of the Limmernsee (including especially the Muttenchopf). Not following this could cost one up to 2‘000 CHF.
Thanks for this valuable information !